For best results, use gel food coloring as it provides a more concentrated color without altering the consistency of the icing. A scribe tool or toothpick is helpful for maneuvering the royal icing and creating intricate designs. Store decorated cookies in an airtight container at room temperature to maintain their crispness and prevent the icing from becoming sticky.
Heart Cookies Decorated with Royal Icing

-
PREP TIME1 hrs
-
COOK TIME10 mins
-
TOTAL TIME3 hrs 25 mins
-
SERVING24 People
-
VIEWS34
Express your love with these exquisite, heart-shaped cookies, adorned with a flawlessly smooth royal icing finish. A delightful confection that combines artistry and flavor, perfect for Valentine's Day or any occasion that calls for a touch of sweetness.
Ingridients
Adjust Servings
Nutrition
-
Carbohydrate34 g
-
Cholesterol38 mg
-
Fiber0 g
-
Protein2 g
-
Saturated Fat6 g
-
Sodium12 mg
-
Sugar26 g
-
Fat9 g
-
Unsaturated Fat0 g
Follow The Directions
01
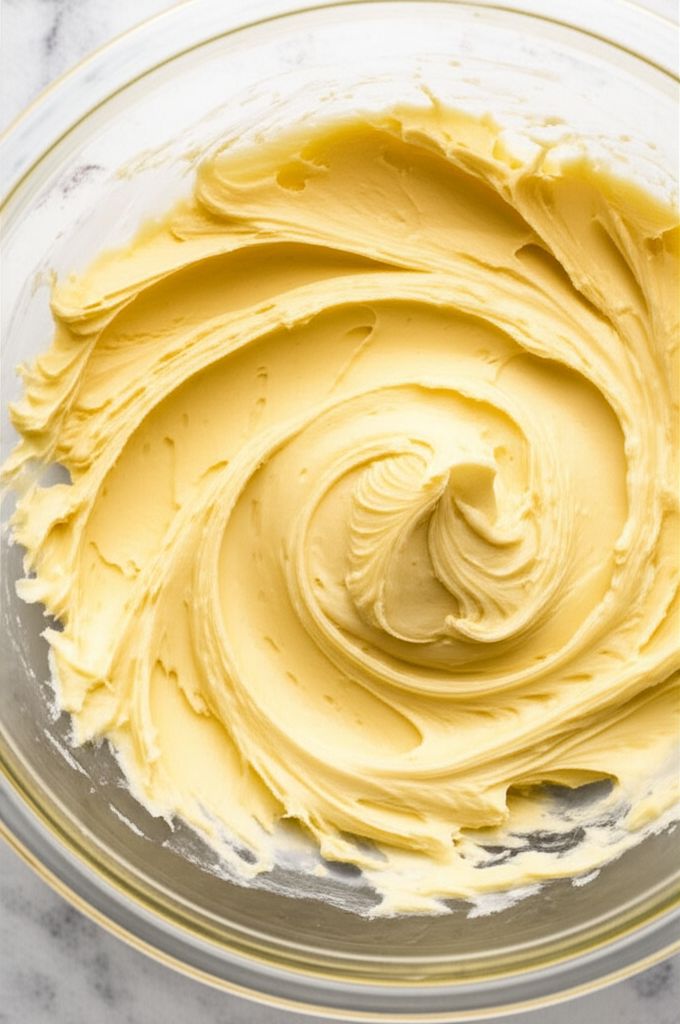
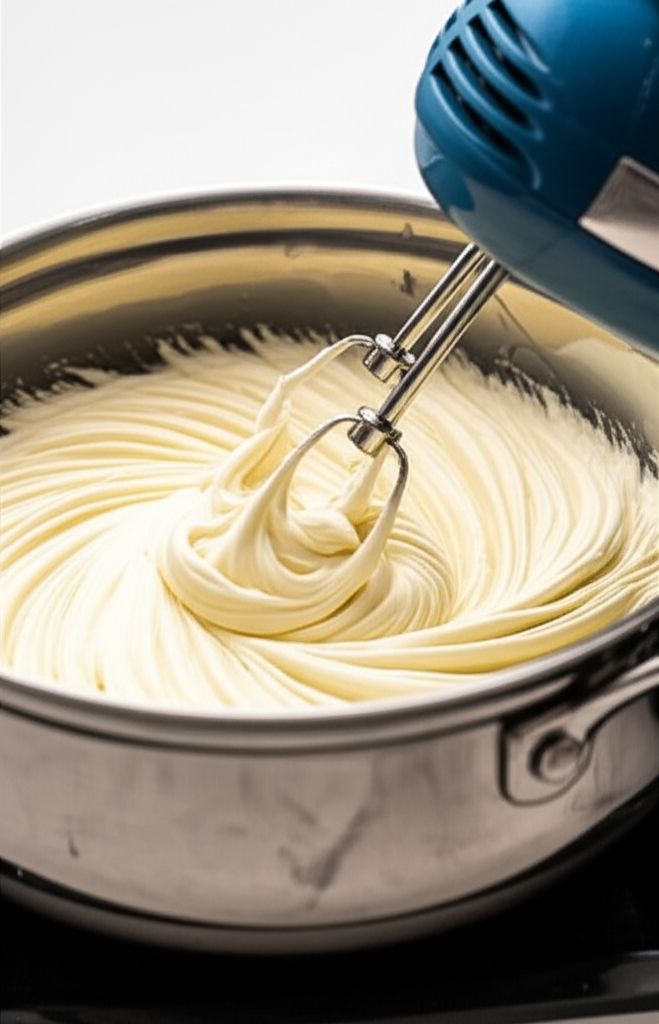
StepIn a large bowl, cream together the softened butters with an electric mixer until light and fluffy. (5 minutes)
02
StepGradually add the granulated sugar and lemon zest, mixing until well combined. (3 minutes)
03
StepBeat in the eggs, one at a time, ensuring each is fully incorporated before adding the next. (2 minutes)
04
StepGradually add half of the sifted flour to the mixture, mixing until just combined. Then, add the remaining flour and mix until a smooth dough forms. (5 minutes)
05
StepShape the dough into a thick rectangle, flatten slightly, and wrap it tightly in plastic wrap. Refrigerate for at least 2 hours to allow the dough to chill and become easier to handle. (120 minutes)
06
StepPreheat your oven to 350 degrees F (175 degrees C). Line two baking sheets with parchment paper. (10 minutes)
07
StepLightly dust a clean work surface with flour. Roll out the chilled dough to a thin circle, about 1/4 inch thick. (10 minutes)
08
StepUsing heart-shaped cookie cutters, cut out the cookies and carefully arrange them on the prepared baking sheets, leaving a little space between each. (10 minutes)
09
StepBake in the preheated oven for 10 to 15 minutes, or until the edges are lightly golden brown. (15 minutes)
10
StepRemove the baking sheets from the oven and carefully transfer the heart cookies to wire racks to cool completely. (15 minutes)
11
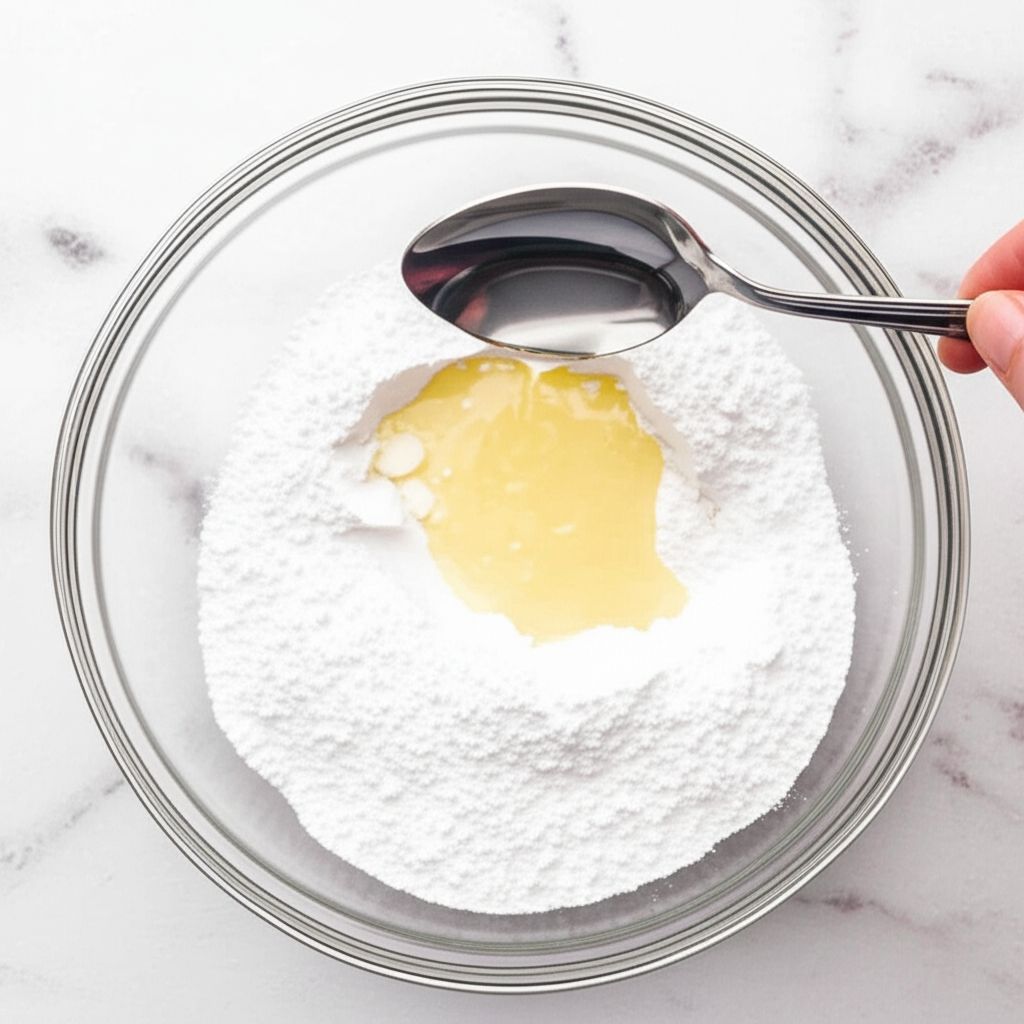
StepIn a clean bowl, beat the egg whites with an electric mixer until frothy. (3 minutes)
12
StepGradually add the sifted confectioners' sugar, 1 tablespoon at a time, beating until stiff peaks form. (5 minutes)
13
StepAdd 1 teaspoon of lemon juice to thin out the mixture. If a runnier consistency is desired for flooding, add more lemon juice, a few drops at a time, until the desired consistency is achieved. (2 minutes)
14
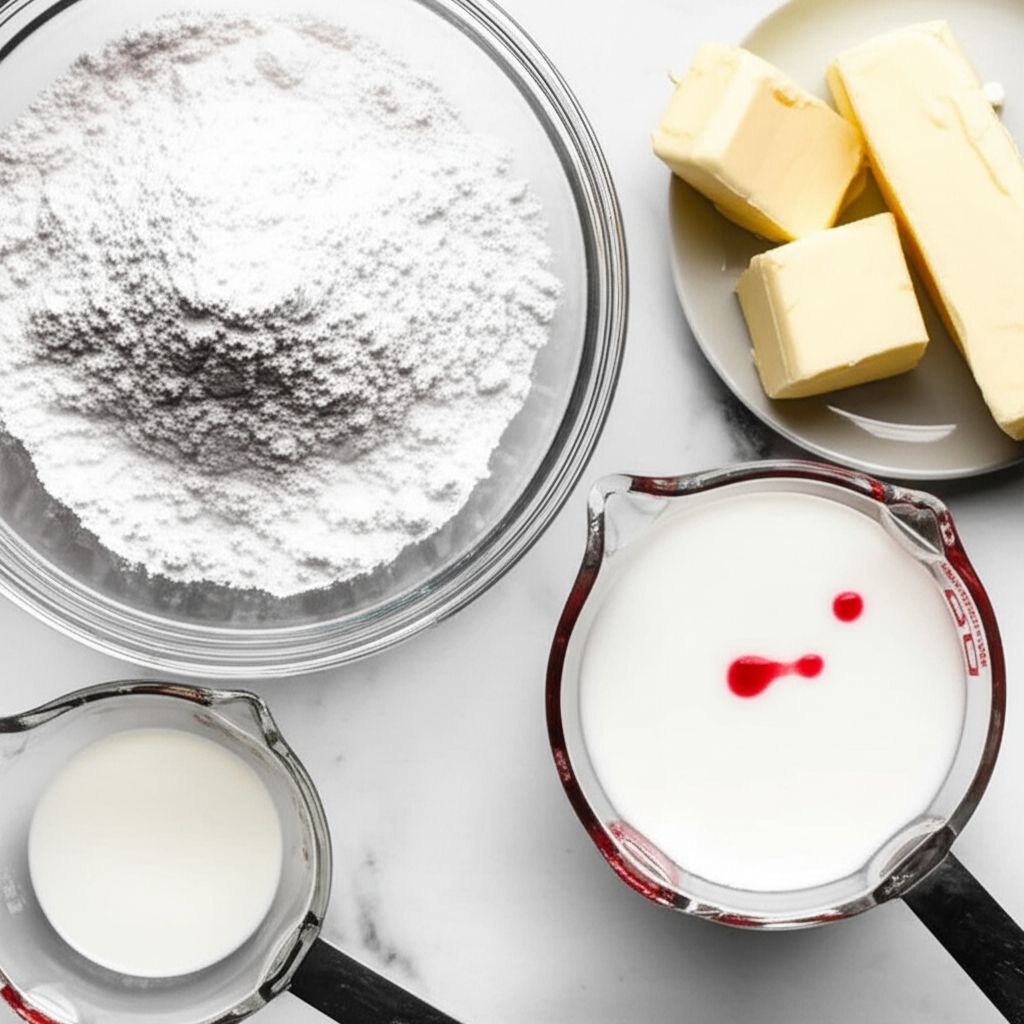
StepDivide the royal icing into several small bowls. Tint each bowl with red food coloring to create different shades of red or pink, reserving a portion of the icing as white. (5 minutes)
15
StepCover each bowl with a damp kitchen towel to prevent the icing from drying out. (1 minute)
16
StepTransfer the royal icing to piping bags fitted with small, round decorating tips (#2 is ideal). Decorate the cooled cookies as desired, using techniques such as flooding, outlining, marbling, or creating hearts, lips, feathers and patterns. (30 minutes)
17
StepAllow the royal icing to set completely before serving or packaging the cookies. (60 minutes)
You need to login to claim your token
🔐 Login to get tokenYOU MAY ALSO LIKE
RECIPE REVIEWS
LEAVE A REVIEW
Please Rate
LATEST RECIPES
-
 1
1 -
 2
2 -
 3
3 -
 4
4 -
 5
5
Kallie Flatley
Jun 16, 2025I tried the marble effect and it was surprisingly easy and looked amazing!
Camilla Russel
May 28, 2025The brown butter trick really elevated the flavor of the cookies!
Kamille Mayer
May 8, 2025I didn't have lemon zest, so I used orange zest instead, and it worked perfectly!
May Reinger
Apr 28, 2025These cookies were a hit! The royal icing was so smooth and easy to work with.
Fanny Johnston
Apr 10, 2025The designs you can make with this recipe are endless! It is also a great way to get the kids involved.
Jeremie Heller
Apr 8, 2025I made these for a Valentine's Day party and they were the talk of the night!
Kathleen Shields
Mar 28, 2025My icing wasn't setting properly at first, but then I realized my bowl had a bit of grease. Once I cleaned it properly, the icing turned out perfect!
Dariana Becker
Feb 21, 2025Patience is key when decorating these cookies. Take your time and enjoy the process!
Laurel Wolf
Jan 26, 2025The tip about using gel food coloring is spot-on. The colors are so vibrant!
Rebeca Beier
Jan 10, 2025These cookies are almost too pretty to eat, I highly recommend this recipe!