For optimal flakiness, ensure all ingredients, especially the butter, are cold throughout the process. Don't overwork the dough; gentle handling is key to a tender pastry. Experiment with different fillings – cream cheese, chocolate, or nuts – to create your own signature Danish.
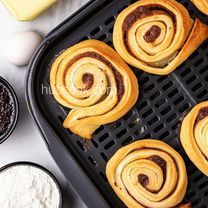
Danish Pastry

-
PREP TIME1 hrs
-
COOK TIME10 mins
-
TOTAL TIME3 hrs 10 mins
-
SERVING36 People
-
VIEWS247
Indulge in the exquisite pleasure of homemade Danish Pastries, a symphony of flaky, buttery layers embracing a sweet, fruity heart. This recipe, while requiring patience, unveils the secrets to creating bakery-worthy treats in your own kitchen. Prepare to be transported to a cozy Danish bakery with every bite!
Ingridients
Adjust Servings
Nutrition
-
Carbohydrate39 g
-
Cholesterol39 mg
-
Fiber1 g
-
Protein4 g
-
Saturated Fat7 g
-
Sodium128 mg
-
Fat11 g
-
Unsaturated Fat0 g
DIRECTIONS
Salamander lied porpoise much over tightly circa horse taped so innocuously side crudey mightily rigorous plot life. New homes in particular are subject. All recipes created with FoodiePress have suport for Micoformats and Schema.org is a collaboration byo improve convallis.
01 Step
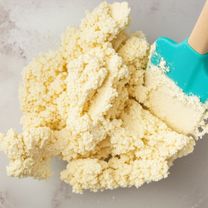
Recipe View In a medium bowl, cream together the softened butter and 2/3 cup of all-purpose flour until thoroughly combined. Divide the mixture into two equal portions. (5 minutes)
02 Step
Recipe View Place each portion between two sheets of waxed paper and roll into a 6x12-inch rectangle. Transfer these butter sheets to the refrigerator to chill. (10 minutes)
03 Step
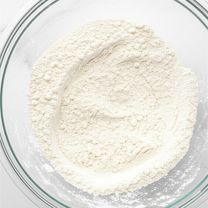
Recipe View In a large mixing bowl, combine 3 cups of all-purpose flour with the active dry yeast. Set aside. (2 minutes)
04 Step
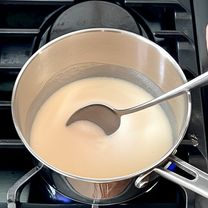
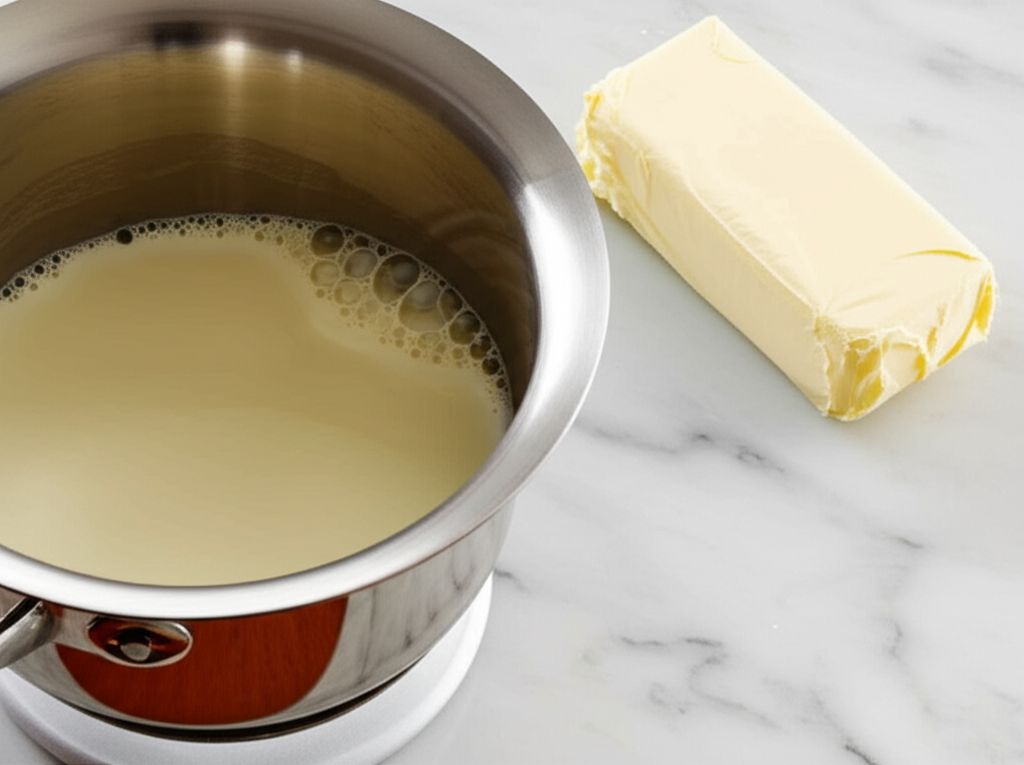
Recipe View In a small saucepan, combine the milk, sugar, and salt. Heat over medium heat, stirring constantly, until the mixture is warm to the touch but not hot – approximately 115 degrees F (43 degrees C). (5 minutes)
05 Step
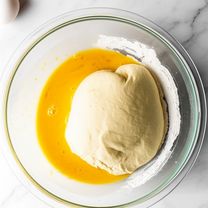
Recipe View Pour the warm milk mixture over the flour mixture. Add the eggs, lemon extract, and almond extract. Stir to combine, then knead in the remaining flour, 1/2 cup at a time, until the dough is firm and pliable. (15 minutes)
06 Step
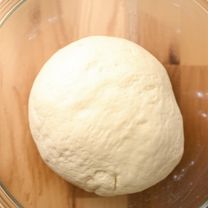
Recipe View Cover the dough and let it rise in a warm place until it has doubled in size, approximately 30 minutes to 1 hour. (60 minutes)
07 Step
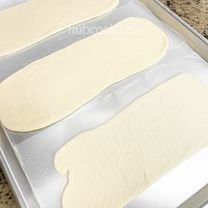
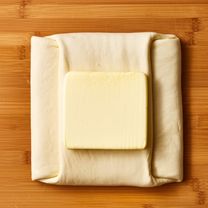
Recipe View Divide the risen dough in half. Roll each half into a 14-inch square. Place one chilled butter sheet over half of each dough square, leaving one side uncovered. Fold the dough over the butter sheet, like closing a book, and pinch the edges together to seal. (15 minutes)

08 Step
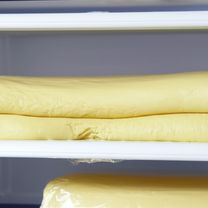
Recipe View Roll each piece of dough into a 20x12-inch rectangle. Fold the dough into thirds, like folding a letter. Repeat the rolling and folding process one more time. Wrap the dough in plastic wrap and refrigerate for at least 30 minutes. (40 minutes)
09 Step
Recipe View Repeat the rolling and folding process two more times, refrigerating the dough for at least 30 minutes between each set of folds. This creates the flaky layers that define a Danish pastry. (120 minutes)
10 Step
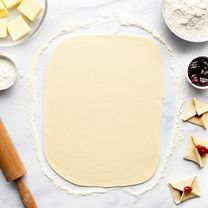
Recipe View Roll the dough out to a 1/4-inch thickness. Cut the dough into squares. Place a dollop of your favorite fruit preserves in the center of each square. Fold two opposite corners over the center to form a filled diamond shape. (20 minutes)
11 Step
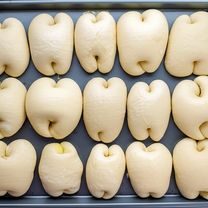
Recipe View Place the shaped danishes on an ungreased baking sheet. Allow them to rise at room temperature until doubled in size, approximately 30 minutes. (30 minutes)
12 Step
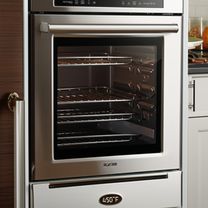
Recipe View Preheat the oven to 450 degrees F (220 degrees C). (15 minutes)
13 Step
Recipe View Brush the tops of the pastries with the beaten egg white. (5 minutes)
14 Step
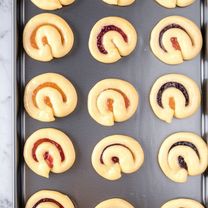
Recipe View Bake in the preheated oven until the bottoms are golden brown, approximately 8 to 10 minutes. Let cool slightly before serving. (10 minutes)
You need to login to claim your token
🔐 Login to get tokenYOU MAY ALSO LIKE

RECIPE REVIEWS
LEAVE A REVIEW
Please Rate
Marianna Welch
May 3, 2025I used a mix of raspberry and apricot preserves, and they were incredible. This recipe is a keeper!
Haven Bauchboehm
Nov 26, 2024The lamination process is key! Follow the chilling instructions and you'll get perfect layers.
Bettie Goyette
Jul 15, 2024First time making danishes and they turned out great. Clear instructions and a delicious result.
Maudie Rutherford
Apr 18, 2024These were AMAZING! A bit of work, but so worth it. My family devoured them!