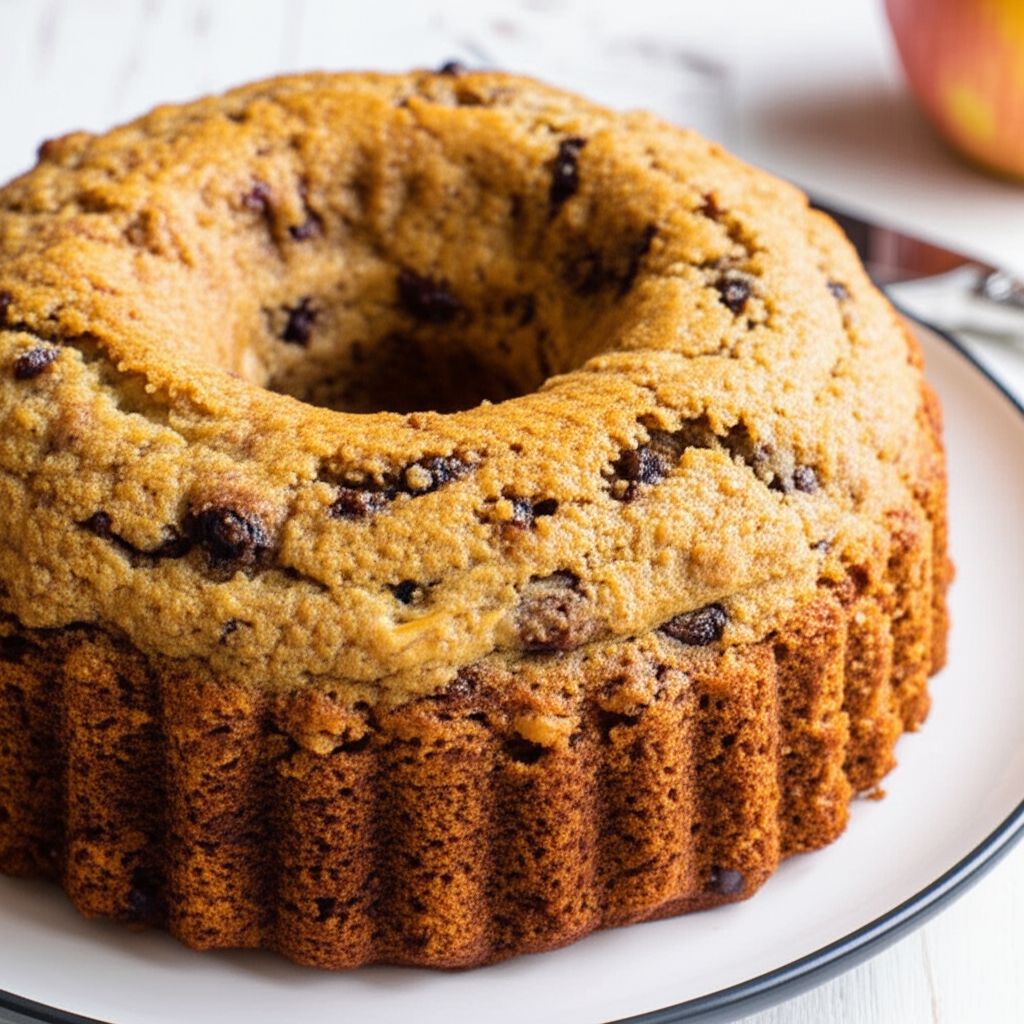
For enhanced flavor, consider using brown sugar instead of white sugar. Feel free to experiment with other fruits like blueberries, chopped pecans, or cranberries. If you find the cake is browning too quickly, you can place a clean kitchen towel between the rice cooker lid and the bowl to reduce the heat. Serve warm with a dollop of Greek yogurt or a drizzle of honey for an extra touch of indulgence. Be patient! Some rice cookers cook faster than others, so keep a close eye on the cake during the cooking process.
Rice Cooker Muffin Cake
-
PREP TIME15 mins
-
COOK TIME30 mins
-
TOTAL TIME45 mins
-
SERVING8 People
-
VIEWS9
Transform your humble rice cooker into a baking powerhouse! This recipe delivers a wonderfully moist and subtly spiced cake, perfect for breakfast, brunch, or a delightful afternoon treat. The ingenious rice cooker method ensures a tender crumb and eliminates the need to heat up your entire kitchen.
Ingridients
Adjust Servings
Nutrition
-
Carbohydrate37 g
-
Cholesterol24 mg
-
Fiber3 g
-
Protein4 g
-
Saturated Fat1 g
-
Sodium415 mg
-
Sugar18 g
-
Fat8 g
-
Unsaturated Fat0 g
Follow The Directions
01
StepPrepare the Rice Cooker: Generously spray the bowl of your rice cooker with cooking spray to prevent sticking. (1 minute)
02
StepCombine Dry Ingredients: In a medium-sized bowl, whisk together the flour, sugar, baking powder, baking soda, and salt. Ensure there are no lumps. (3 minutes)
03
StepSoak Bran Flakes: In a separate, large bowl, combine the crushed bran flakes, milk, cinnamon, nutmeg, and vanilla extract. Allow the bran flakes to soak and soften slightly, about 5 minutes. This step is crucial for a moist cake. (5 minutes)
04
StepIncorporate Wet Ingredients: Add the egg and olive oil to the bran flake mixture. Stir well to combine everything thoroughly. (2 minutes)
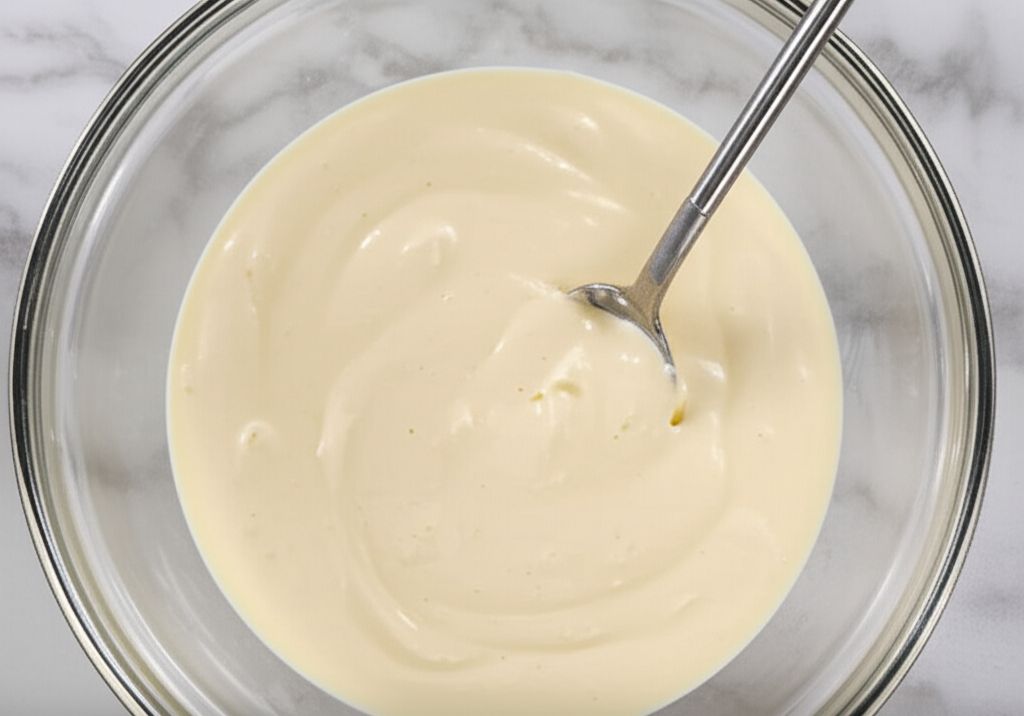
05
StepCombine Wet and Dry: Gradually add the dry ingredients to the wet ingredients, stirring gently until just combined. Be careful not to overmix, as this can result in a tough cake. A few streaks of flour are okay. (5 minutes)
06
StepFold in Fruits: Gently fold in the diced apple, banana, and raisins until they are evenly distributed throughout the batter. (3 minutes)
07
StepCook in Rice Cooker: Pour the batter into the prepared rice cooker bowl. Close the lid and cook using the regular 'cook' cycle. (30 minutes)
08
StepCheck for Doneness: After the first cycle, check the cake's doneness by inserting a toothpick into the center. If it comes out clean or with just a few moist crumbs, the cake is ready. If not, run the rice cooker for another cycle or until the toothpick test is successful. (5 minutes)
09
StepCool and Serve: Once cooked, carefully remove the rice cooker bowl and let the cake cool slightly before slicing and serving. Enjoy!
You need to login to claim your token
🔐 Login to get tokenYOU MAY ALSO LIKE


RECIPE REVIEWS
LEAVE A REVIEW
Please Rate

Maybelle Gerlach
Jul 2, 2025The cooking time was a bit longer for me, but it was worth the wait. The cake was so fluffy and flavorful.
Mae Lakin
Jun 30, 2025I added some chopped walnuts to the batter, and it gave the cake a nice crunch.
Thaddeus Johnston
Jun 29, 2025I’ve made this cake several times, and it’s always a hit. It’s also great for potlucks and gatherings.
Lamar Beatty
Jun 28, 2025My kids love this cake! It's a great way to sneak in some healthy fruit and fiber.
Devin Cremin
Jun 28, 2025This recipe is a lifesaver! I love how easy it is to make, and the cake is so moist and delicious.
Kevon Stark
Jun 28, 2025I was skeptical about making a cake in a rice cooker, but this recipe proved me wrong! It turned out perfectly.
Kyle Leuschke
Jun 25, 2025This is now my go-to recipe for a quick and easy dessert. Thank you for sharing!
Adolf Batz
Jun 25, 2025I tried this recipe with gluten-free flour, and it worked perfectly!