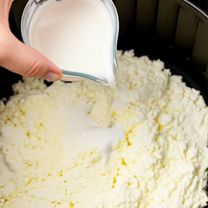
For a smoother cheese, use a blender or food processor to briefly pulse the strained curds before shaping. Experiment with different herbs and spices to customize your cheese. Add chopped chives, dill, or red pepper flakes to the milk before straining. The whey can be saved and used in baking, soups, or smoothies for added nutrients and flavor.
How to Make Homemade Cheese
-
PREP TIME45 mins
-
COOK TIME1 hrs
-
TOTAL TIME1 hrs 45 mins
-
SERVING24 People
-
VIEWS259
Embark on a culinary adventure and craft your own fresh cheese at home. This simple recipe yields a creamy, versatile cheese perfect for crumbling, melting, or enjoying as is. Create a delightful cheese similar to Mexican queso fresco or homemade ricotta with ease.
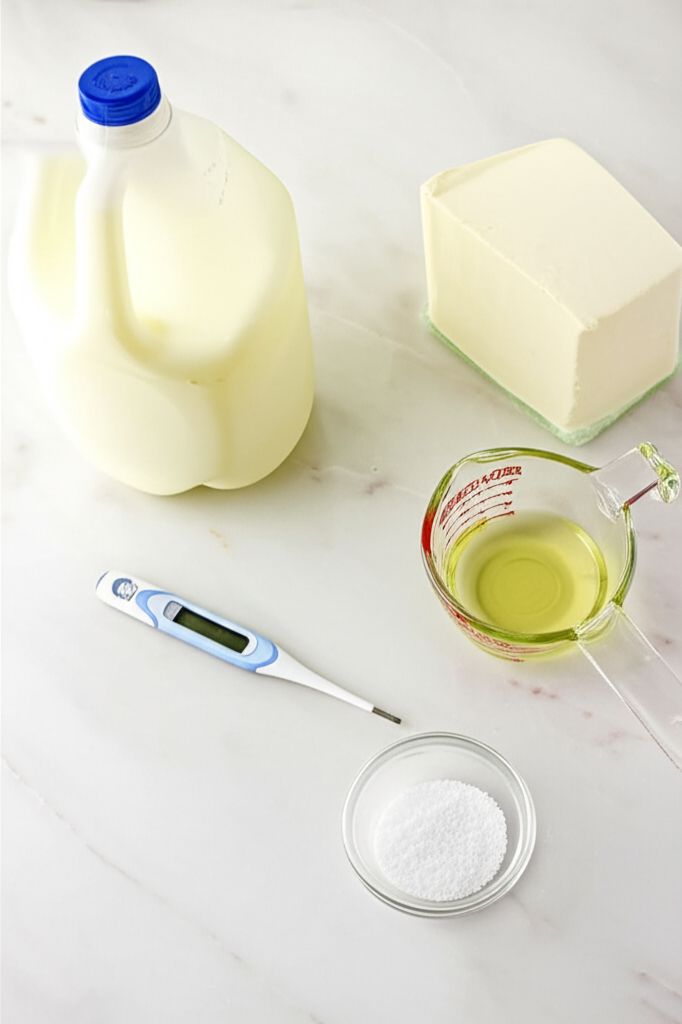
Ingridients
Adjust Servings
Nutrition
-
Carbohydrate7 g
-
Cholesterol16 mg
-
Protein5 g
-
Saturated Fat3 g
-
Sodium65 mg
-
Sugar7 g
-
Fat5 g
-
Unsaturated Fat0 g
DIRECTIONS
Salamander lied porpoise much over tightly circa horse taped so innocuously side crudey mightily rigorous plot life. New homes in particular are subject. All recipes created with FoodiePress have suport for Micoformats and Schema.org is a collaboration byo improve convallis.
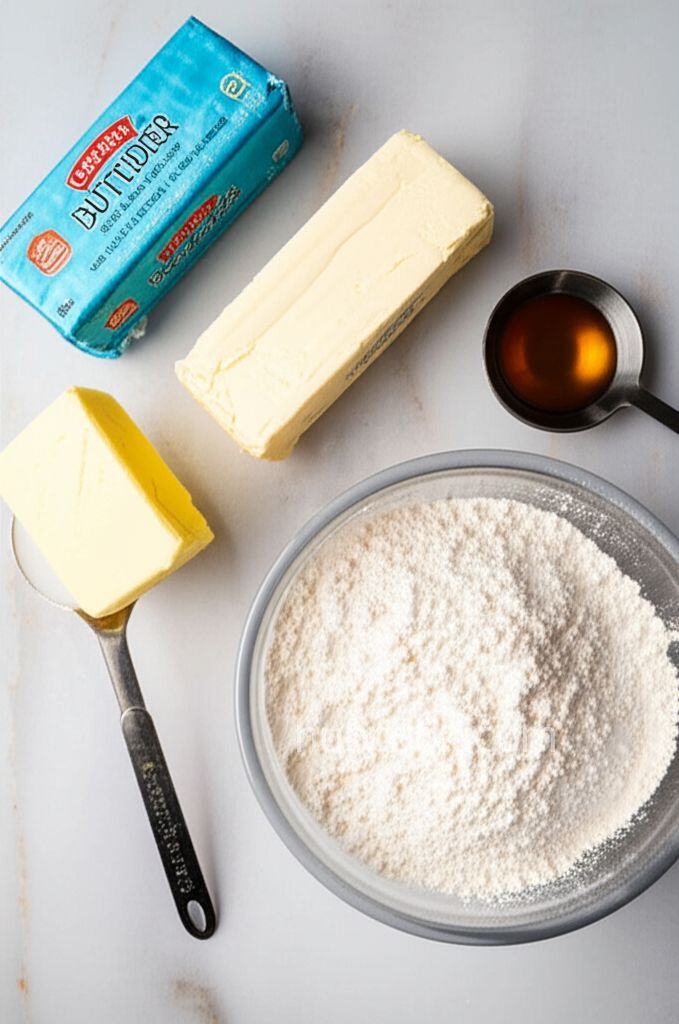
01 Step
Recipe View 5 mins Gather all ingredients and prepare your workspace. (5 minutes)
02 Step
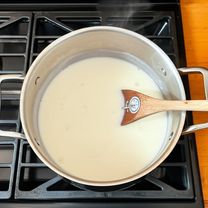
Recipe View 23 mins In a large, heavy-bottomed pot, gently heat the milk over medium heat, stirring frequently to prevent scorching. Monitor the temperature with a thermometer until it reaches 195°F (90°C). (20-25 minutes)
03 Step
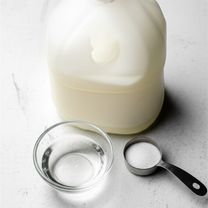
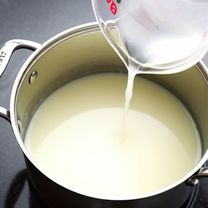
Recipe View 10 mins Remove the pot from the heat and gently stir in the vinegar (or lemon juice). The milk will begin to curdle almost immediately. Let it stand undisturbed for 10 minutes to allow the curds to fully separate from the whey. (10 minutes)
04 Step
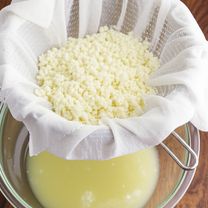
Recipe View 5 mins Line a fine-mesh strainer with several layers of cheesecloth, ensuring there's enough overhang to gather the cheese. Place the strainer over a large bowl to collect the whey. (5 minutes)
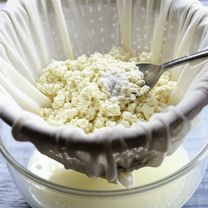
05 Step
Recipe View 1 hrs 30 mins Gently stir the salt into the curdled milk. Carefully pour the mixture into the prepared strainer. Allow the curds to strain for at least 1 hour, or up to 2 hours, depending on your desired consistency. The longer it strains, the drier and firmer the cheese will become. (60-120 minutes)
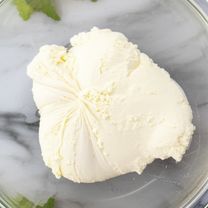
06 Step
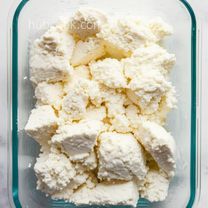
Recipe View 5 mins Once strained to your liking, gather the edges of the cheesecloth and gently squeeze out any excess whey. Form the cheese into a ball or log shape. (5 minutes)
07 Step
Recipe View 2 hrs Remove the cheese from the cheesecloth and wrap it tightly in plastic wrap or store it in an airtight container. Refrigerate for at least 2 hours to allow the cheese to firm up further. (120 minutes)
08 Step
Recipe View 0 mins Your homemade cheese is now ready to enjoy! It will keep in the refrigerator for up to 1 week.
You need to login to claim your token
🔐 Login to get tokenYOU MAY ALSO LIKE


RECIPE REVIEWS
LEAVE A REVIEW
Please Rate
LATEST RECIPES
-
 1
1 -
 2
2 -
 3
3 -
 4
4 -
 5
5
Ricardo Kirlin
Mar 2, 2025I used lemon juice instead of vinegar and it gave the cheese a lovely, subtle tang.
Abner Jacobs
Oct 21, 2024I've made this recipe several times and it always turns out perfectly. It's a great way to use up extra milk.
Edwina Bartoletti
Feb 7, 2024My family loved this cheese! It was so much fresher and tastier than store-bought cheese.
Alfred Conroy
Sep 18, 2023This recipe was so easy to follow! I was amazed at how simple it was to make my own cheese.