For a sturdier house, consider baking the gingerbread one day in advance to allow it to harden completely. Feel free to experiment with different spices in the dough, such as cardamom or cloves, for a unique flavor profile. If you don't have lemon zest, orange zest works wonderfully as a substitute. Store your finished gingerbread house in a cool, dry place away from direct sunlight to prevent the candies from melting or fading.
Children's Gingerbread House
-
PREP TIME2 hrs 30 mins
-
COOK TIME10 mins
-
TOTAL TIME21 hrs 40 mins
-
SERVING15 People
-
VIEWS322
Embark on a heartwarming holiday tradition with this enchanting gingerbread house recipe! Perfect for creating lasting memories with loved ones, this delightful project combines the joy of baking with the artistry of candy decoration. Construct your dream gingerbread abode and let your imagination run wild!
Ingridients
Adjust Servings
Nutrition
-
Carbohydrate160 g
-
Cholesterol49 mg
-
Fiber1 g
-
Protein5 g
-
Saturated Fat6 g
-
Sodium172 mg
-
Sugar136 g
-
Fat10 g
-
Unsaturated Fat0 g
DIRECTIONS
Salamander lied porpoise much over tightly circa horse taped so innocuously side crudey mightily rigorous plot life. New homes in particular are subject. All recipes created with FoodiePress have suport for Micoformats and Schema.org is a collaboration byo improve convallis.
01 Step
Recipe View **Day 1: Preparing the Templates & Dough**

02 Step
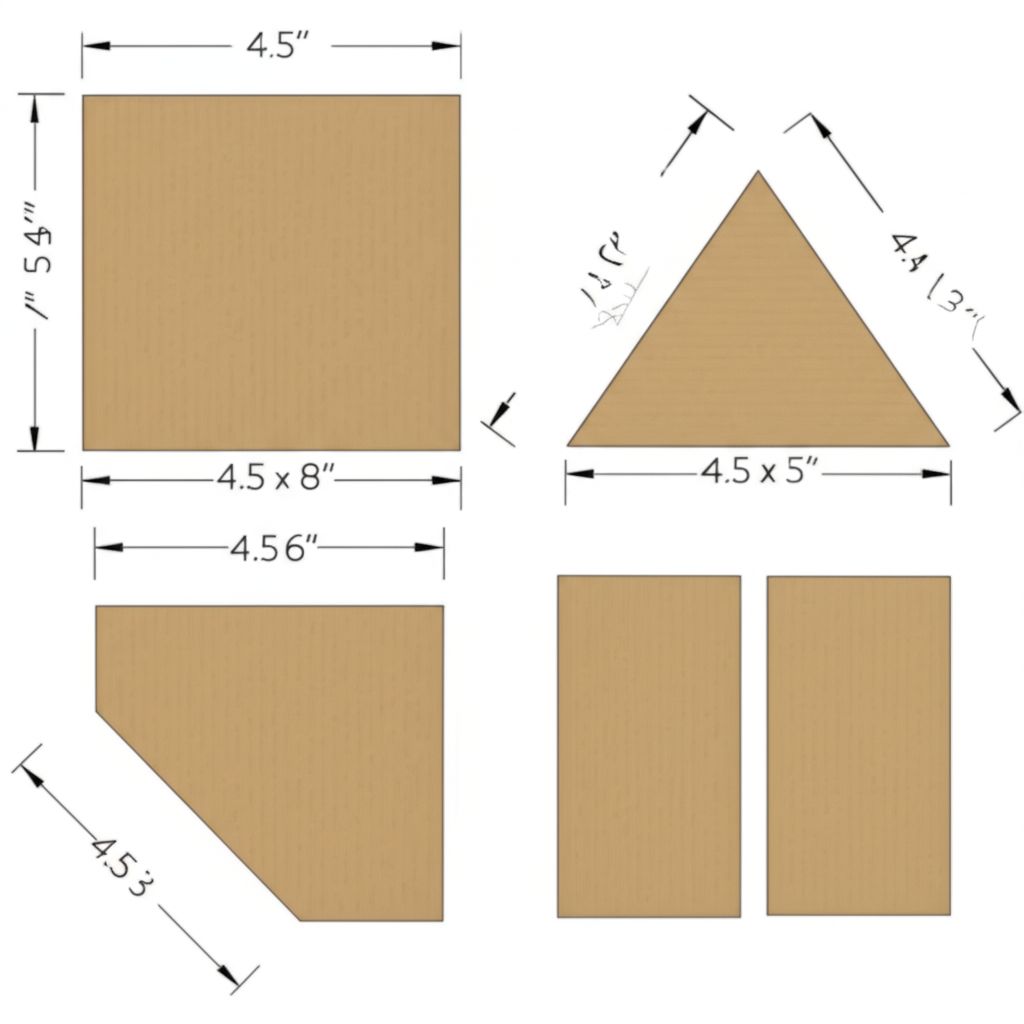
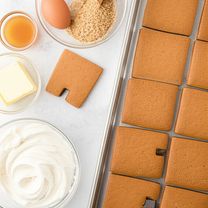
Recipe View 1. **Create Templates (15 minutes):** Craft sturdy cardboard templates for your gingerbread house: side wall (4.5 x 8 inches), end wall (4.5 x 5 inches), triangular gable (4.5 x 3 x 3 inches), and roof (4.5 x 9 inches). Secure the end wall and gable templates together with tape.
03 Step
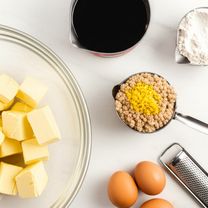
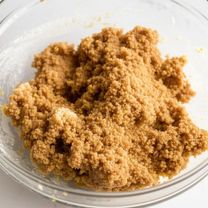
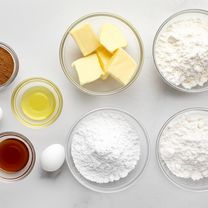
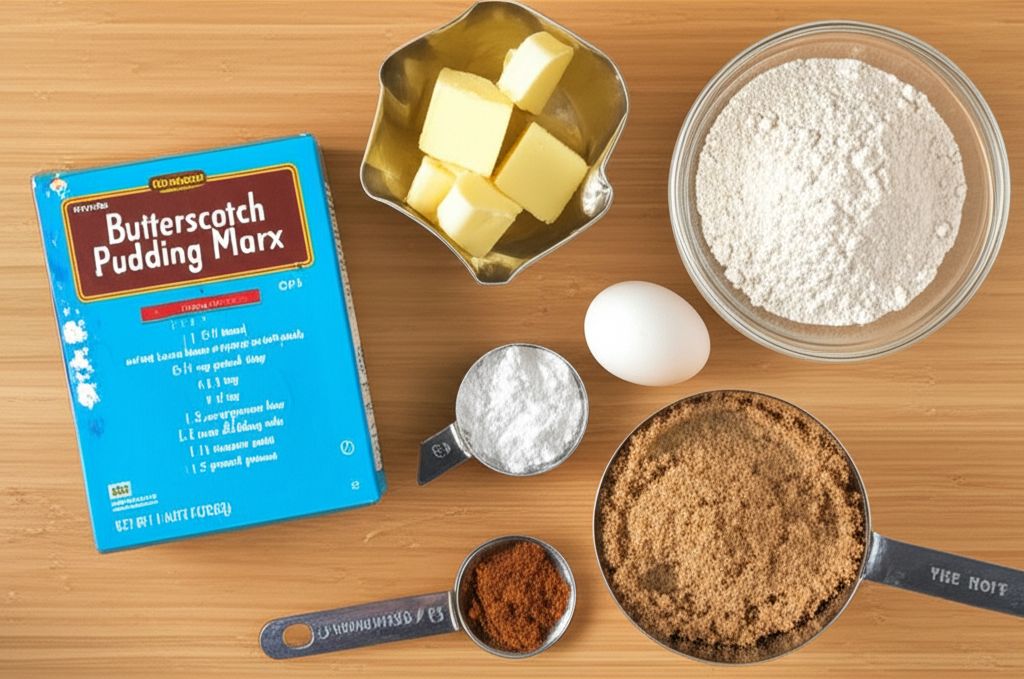
Recipe View 2. **Make the Dough (20 minutes):** In a large bowl, cream together the softened butter and brown sugar until light and fluffy. Incorporate the lemon zest, lemon juice, and molasses. Gradually beat in the eggs until well combined. In a separate bowl, sift together the flour, baking powder, ginger, and allspice. Gradually add the dry ingredients to the wet ingredients, mixing until a smooth dough forms.
04 Step
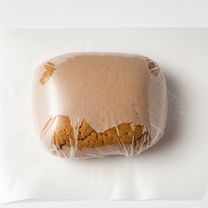
Recipe View 3. **Chill the Dough (1 hour):** Wrap the gingerbread dough in parchment paper and refrigerate for at least 1 hour to allow the gluten to relax and the dough to firm up.
05 Step
Recipe View **Day 2: Baking & Assembling the House**
06 Step
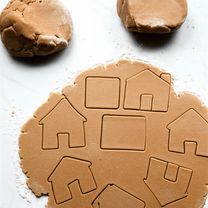
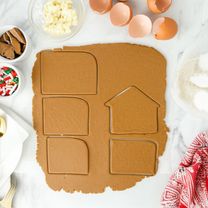
Recipe View 4. **Preheat & Roll (15 minutes):** Preheat your oven to 375°F (190°C). On a lightly floured surface, divide the chilled dough into 6 portions, keeping 2 slightly larger. Roll out the 4 smaller portions to match the side and end wall templates; cut out 2 of each shape.
07 Step
Recipe View 5. **Cut the Roof (10 minutes):** Roll out the remaining dough and cut into 2 rectangular roof pieces using the roof template. Carefully transfer the gingerbread pieces to greased baking trays.
08 Step
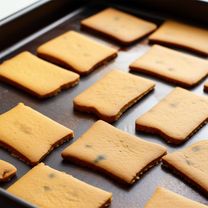
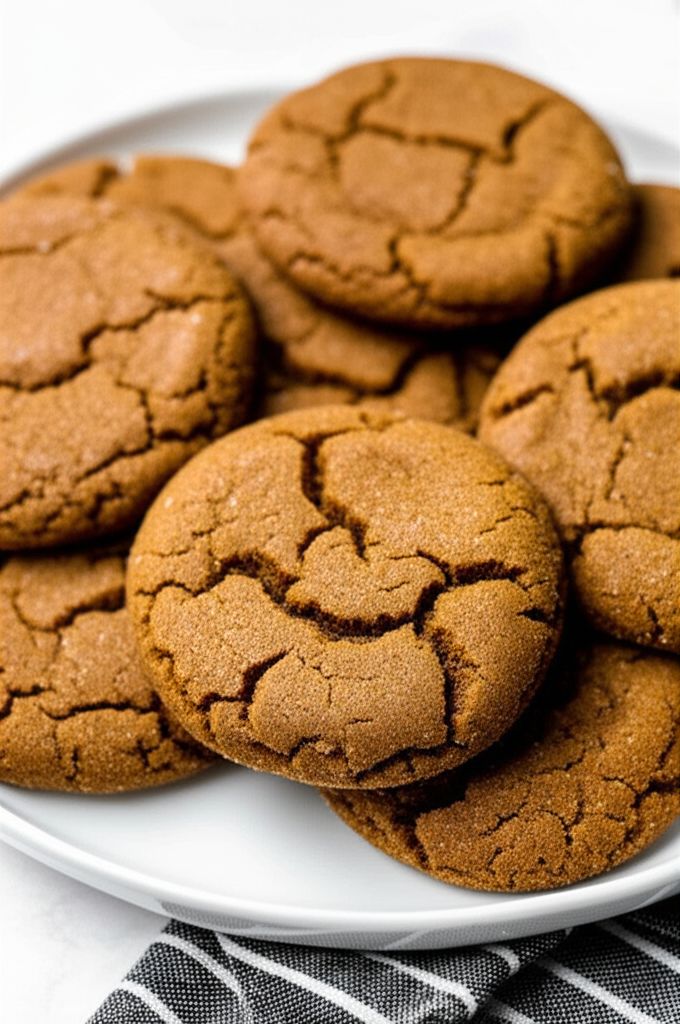
Recipe View 6. **Bake (10 minutes):** Bake in the preheated oven for 10-12 minutes, or until the gingerbread is crisp and golden brown. Let the baked gingerbread cool on the baking trays for a few minutes before transferring them to wire racks to cool completely (approximately 8 hours or overnight).
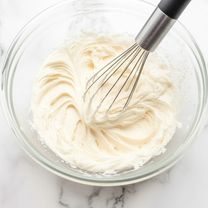
09 Step
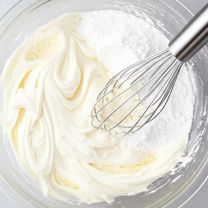
Recipe View 7. **Make Royal Icing (15 minutes):** Lightly whisk 2 egg whites in a large bowl. Gradually beat in confectioners' sugar (about 5 cups) until the icing is smooth and forms stiff peaks.
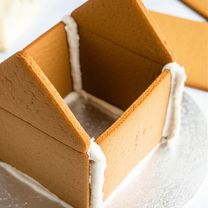
10 Step
Recipe View 8. **Assemble the Walls (30 minutes + 2 hours setting):** Pipe a generous line of royal icing onto a cake board or serving platter. Attach one of the side walls, using extra icing for support. Ice the edges of an end wall and attach it at a right angle to the side wall. Repeat with the remaining walls. Allow the walls to set for at least 2 hours before proceeding.
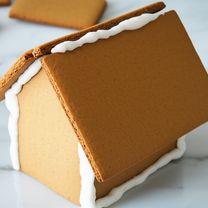
11 Step
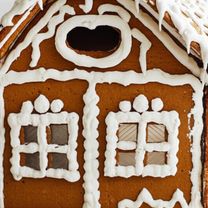
Recipe View 9. **Attach the Roof (20 minutes + 8 hours setting):** Generously ice the top edges of the walls and carefully position the roof pieces, ensuring they overlap the walls to create eaves. Use additional icing to secure the roof's crest. Let the assembled house set for at least 8 hours or overnight to ensure stability.
12 Step
Recipe View **Day 3: Decorating!**
13 Step
Recipe View 10. **Prepare Decorating Icing (10 minutes):** In a large bowl, lightly whisk the remaining 4 egg whites. Gradually mix in the remaining confectioners' sugar to create a thick, spreadable icing for decorating.
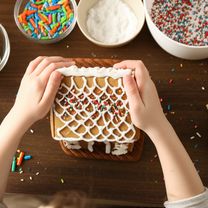
14 Step
Recipe View 11. **Decorate (As long as your heart desires):** Unleash your creativity and decorate your gingerbread house with snow, candies, sprinkles, and any other edible embellishments. Use the decorating icing to adhere the candies and create a winter wonderland.
15 Step
Recipe View 12. **Final Touches (5 minutes):** Finish your masterpiece with a light dusting of sifted confectioners' sugar for a snowy effect.
You need to login to claim your token
🔐 Login to get tokenYOU MAY ALSO LIKE

RECIPE REVIEWS
LEAVE A REVIEW
Please Rate
LATEST RECIPES
-
 1
1 -
 2
2 -
 3
3 -
 4
4 -
 5
5
Alexander Becker
Mar 20, 2025This is now a new family tradition!
Stuart Boyle
Dec 16, 2024The royal icing recipe was perfect, it set up nice and strong.
Maya Johnston
Nov 28, 2024The gingerbread tasted amazing, not too sweet and perfectly spiced.
Milan Frami
Jan 16, 2024Next time I'll try adding some edible food coloring to the icing for more colorful decorations.
Aubrey Blanda
Oct 29, 2023I recommend making the dough the day before. It makes the whole process easier.
Jermaine West
Aug 29, 2023Make sure to sift the confectioners' sugar! It makes a big difference in the texture of the icing.
Sadye Heathcote
Jul 27, 2023This recipe was so much fun to make with my kids!
Joseph Crona
Jun 10, 2023I had some trouble with the walls staying up, but propping them up with cans helped.