Use unbleached flour for best results, as it contains more natural yeasts. The warmer your environment, the faster the starter will ferment. Keep an eye on it and adjust the fermentation time accordingly. If you see any pink or orange discoloration, or if the starter develops an unpleasant odor, discard it and begin again. These are signs of unwanted bacteria. Don't be afraid to experiment! Different flours (rye, whole wheat) can add unique flavors to your starter. Feeding your starter regularly is key to keeping it healthy and active. A neglected starter may become weak and unable to leaven bread properly.
Sourdough Starter
-
PREP TIME5 mins
-
COOK TIME0 mins
-
TOTAL TIME96 hrs 5 mins
-
SERVING15 People
-
VIEWS858
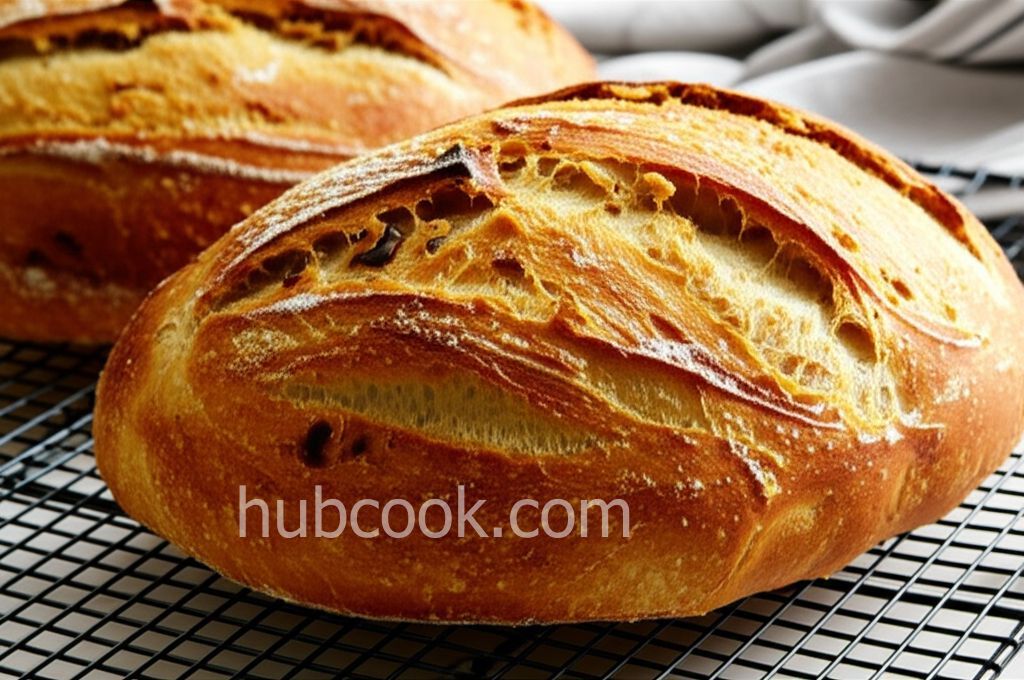
Embark on a rewarding culinary journey by crafting your own sourdough starter – the heart and soul of exceptional homemade bread. This simple yet transformative process unlocks a world of tangy, flavorful possibilities. Nurture your starter, and it will reward you with loaves of unparalleled character.
Ingridients
Adjust Servings
Nutrition
-
Carbohydrate13 g
-
Fiber1 g
-
Protein2 g
-
Sodium2 mg
-
Fat0 g
-
Unsaturated Fat0 g
DIRECTIONS
Salamander lied porpoise much over tightly circa horse taped so innocuously side crudey mightily rigorous plot life. New homes in particular are subject. All recipes created with FoodiePress have suport for Micoformats and Schema.org is a collaboration byo improve convallis.
01 Step
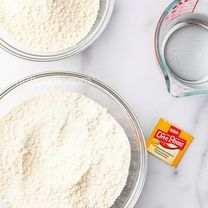
Recipe View 5 mins Gather your ingredients: Ensure your flour is fresh, your yeast is active, and your water is at the correct temperature. (5 minutes)
02 Step
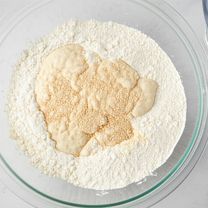
Recipe View 10 mins Combine ingredients: In a large, non-reactive bowl (glass or plastic), add the flour. Sprinkle the active dry yeast evenly over the flour. Pour in the lukewarm water and mix thoroughly until a smooth, slightly thick batter forms. (10 minutes)
03 Step
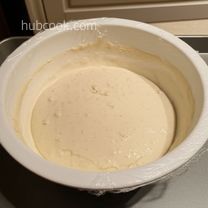
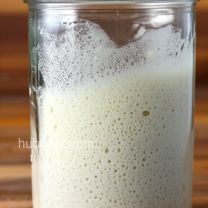
Recipe View 112 hrs Ferment: Place the bowl on a baking sheet for easy handling. Cover loosely with plastic wrap or a clean kitchen towel. Set in a warm, draft-free place (ideally around 70-75°F) to ferment for 4 to 8 days. The time can vary depending on the temperature and humidity of your environment. (Variable: 4-8 days)
04 Step
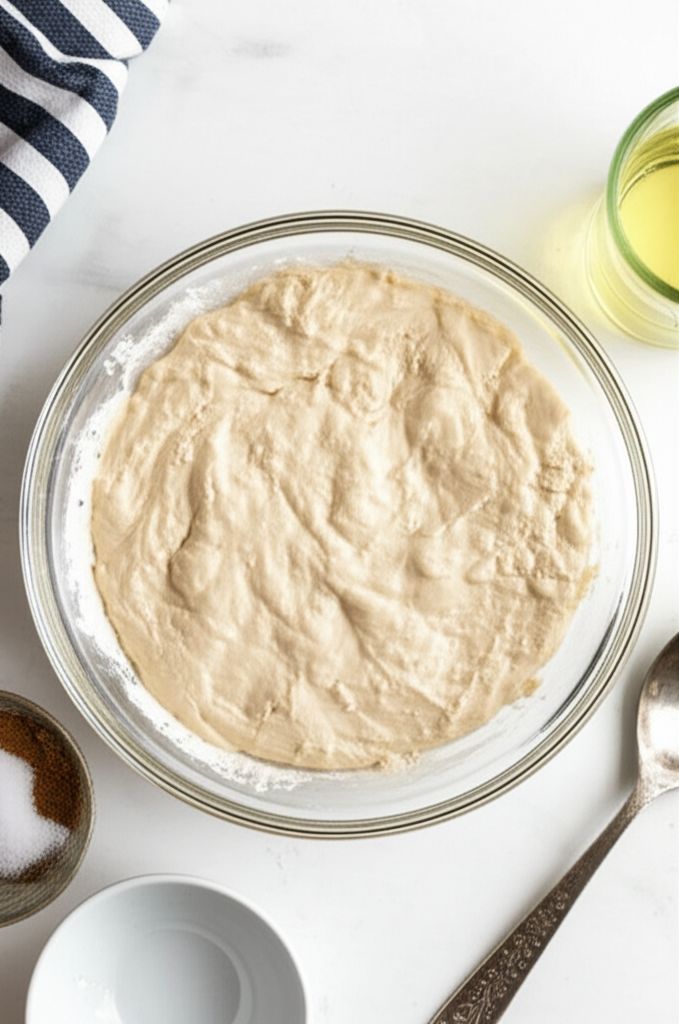
Recipe View 5 mins Observe: Check the starter daily. It is ready when bubbly and possesses a pleasantly sour aroma. Discard approximately half of the starter each day and feed with equal parts water and flour to continue the fermentation process.
05 Step
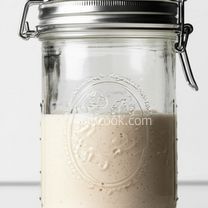
Recipe View 5 mins Enjoy: Once your starter is active, it is ready to bake with! Store in the refrigerator, feeding it regularly to maintain its strength.
You need to login to claim your token
🔐 Login to get tokenYOU MAY ALSO LIKE

RECIPE REVIEWS
LEAVE A REVIEW
Please Rate

Walker Upton
Feb 17, 2025David L: I had some pink discoloration in my starter, as the recipe suggests, I threw it out and started over. The second time was a charm!
Shania Considine
Apr 1, 2024Michael B: Be patient! It took my starter almost a week to get bubbly, but it was worth the wait.
Felicita Kulas
Oct 4, 2023Emily K: The instructions were really clear, and my bread turned out amazing!
Vanessa Kilback
Jun 1, 2023Sarah M: This recipe worked perfectly! My starter is so active now.