For best results, ensure your yeast is fresh. Don't skip the softening step – it's crucial for achieving that perfect pita texture. Feel free to experiment with different flours, such as whole wheat, for a unique flavor profile. Pitas can be stored in a plastic bag in the refrigerator for several days or in the freezer for up to 2 months.
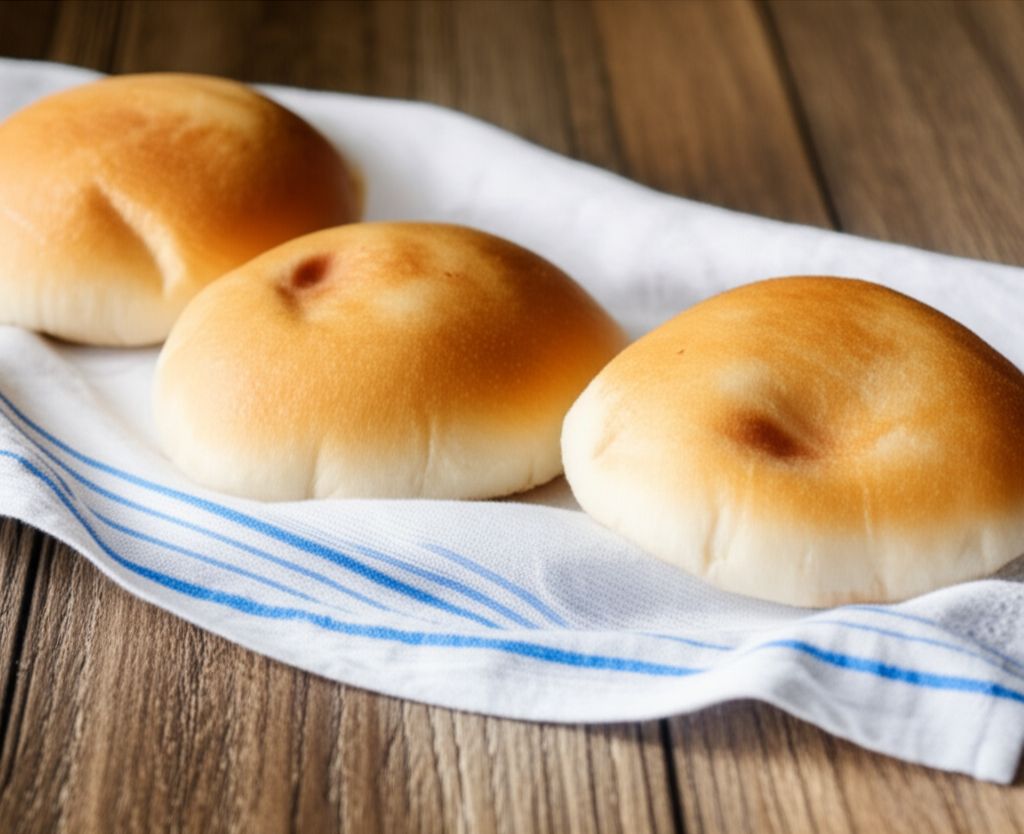
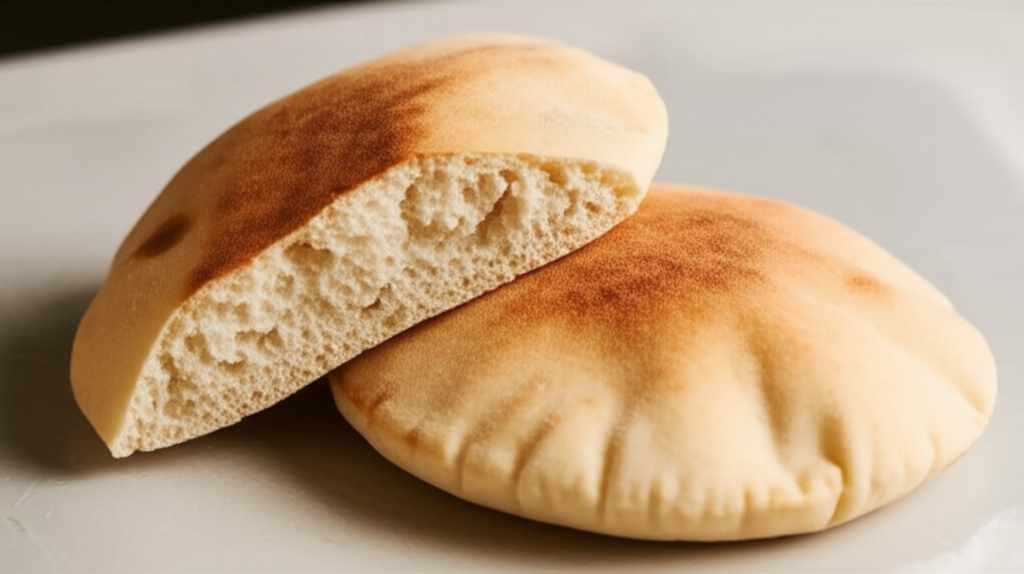
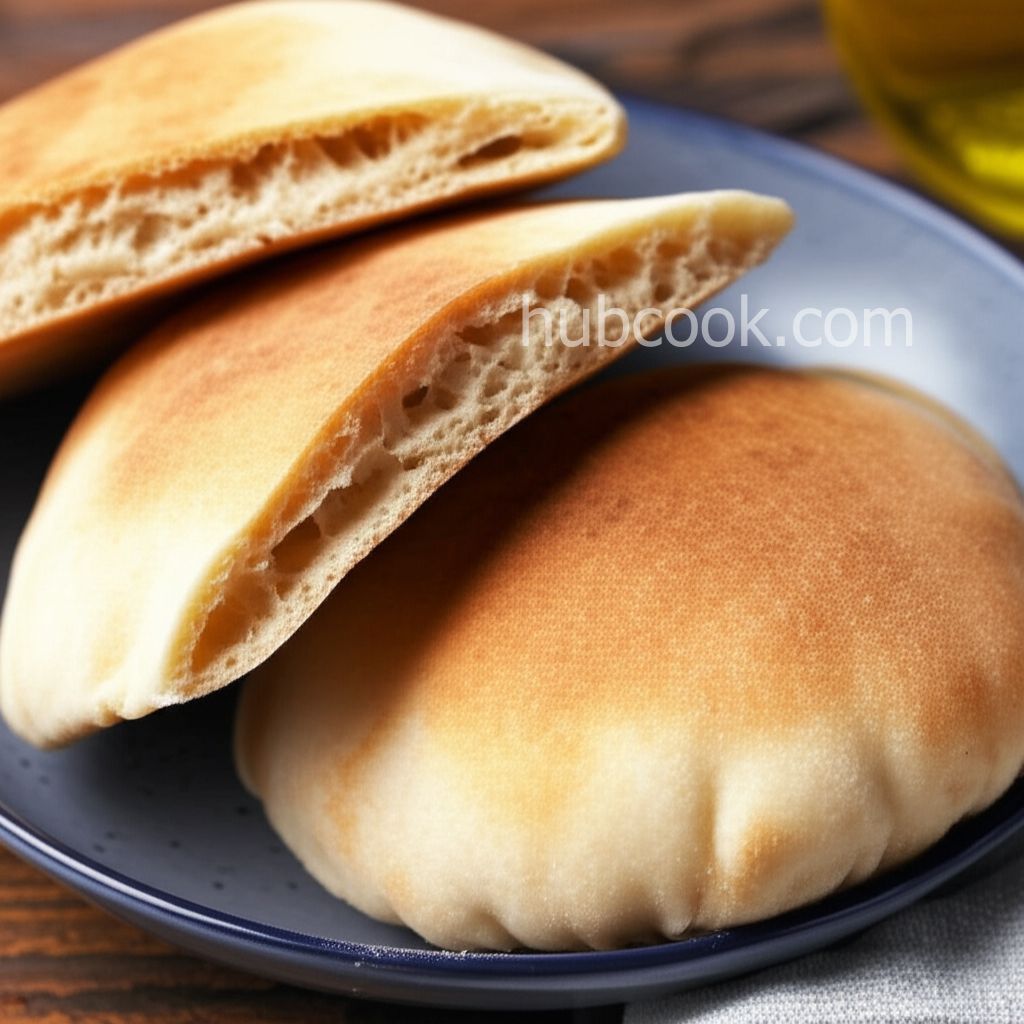
Peppy's Pita Bread
-
PREP TIME30 mins
-
COOK TIME15 mins
-
TOTAL TIME3 hrs 20 mins
-
SERVING8 People
-
VIEWS2.7K
Embark on a culinary adventure and create authentic, airy pita bread right in your own kitchen. This recipe guides you through each step, ensuring perfect results every time. Enjoy the satisfaction of homemade goodness!
Ingridients
Adjust Servings
Nutrition
-
Carbohydrate37 g
-
Fiber1 g
-
Protein5 g
-
Saturated Fat0 g
-
Sodium293 mg
-
Sugar1 g
-
Fat2 g
-
Unsaturated Fat0 g
DIRECTIONS
Salamander lied porpoise much over tightly circa horse taped so innocuously side crudey mightily rigorous plot life. New homes in particular are subject. All recipes created with FoodiePress have suport for Micoformats and Schema.org is a collaboration byo improve convallis.
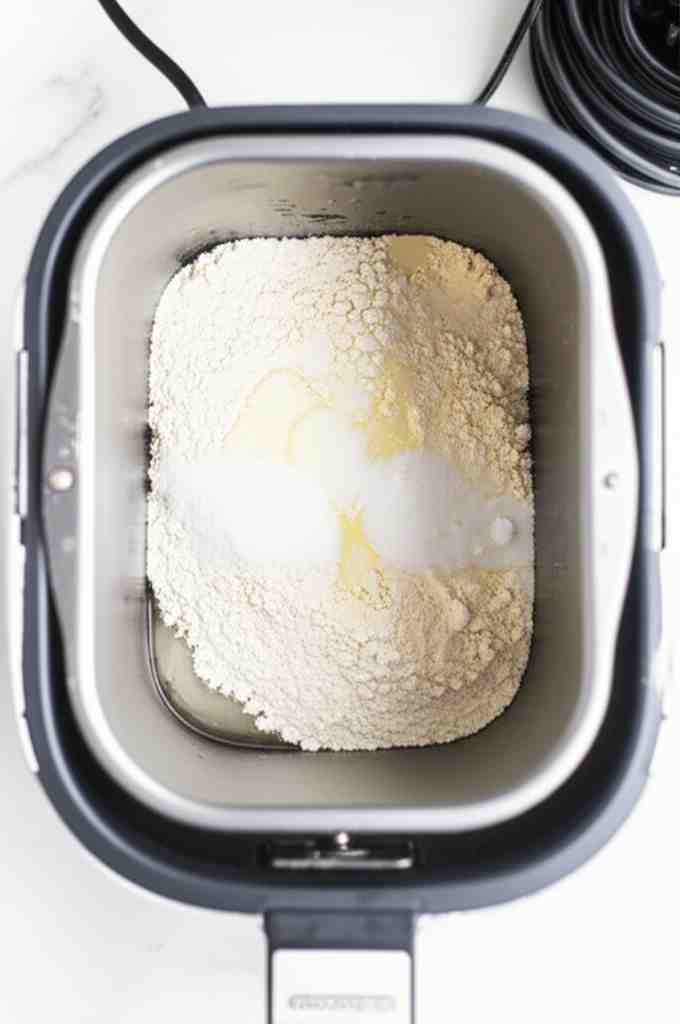
01 Step
Recipe View Combine Ingredients: In the bread machine pan, add warm water, flour, salt, vegetable oil, sugar, and active dry yeast. (5 minutes)
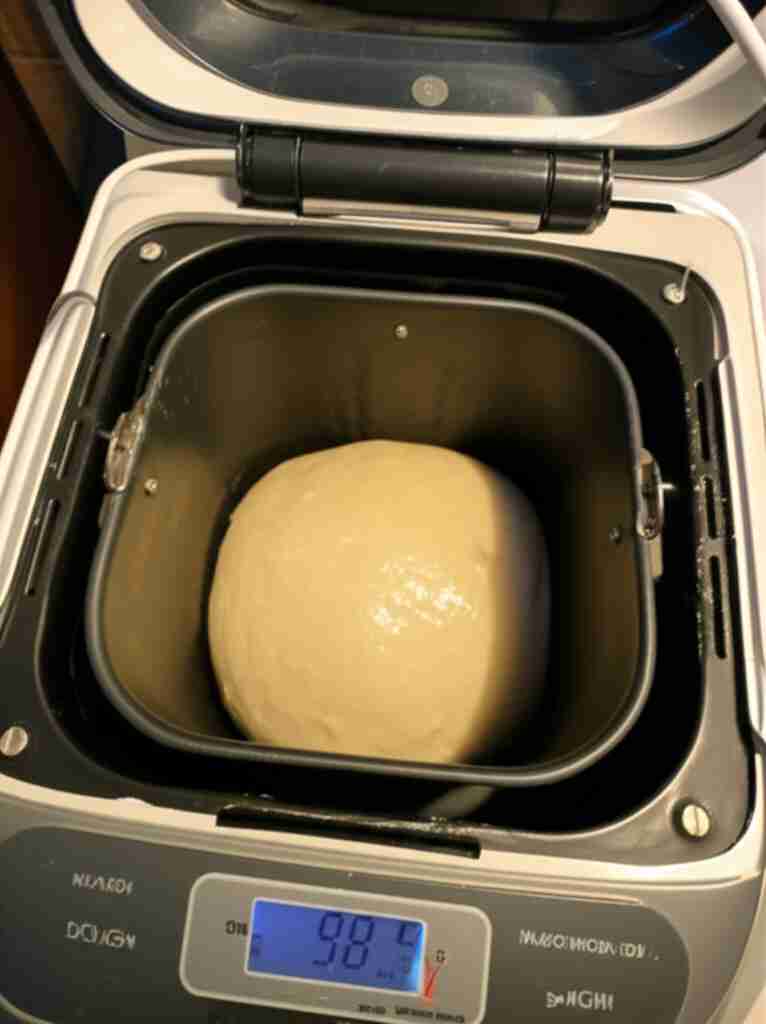
02 Step
Recipe View Dough Cycle: Select the 'Dough' setting on your bread machine and start the cycle. The machine will beep when the dough has finished rising. (1 hour 30 minutes)
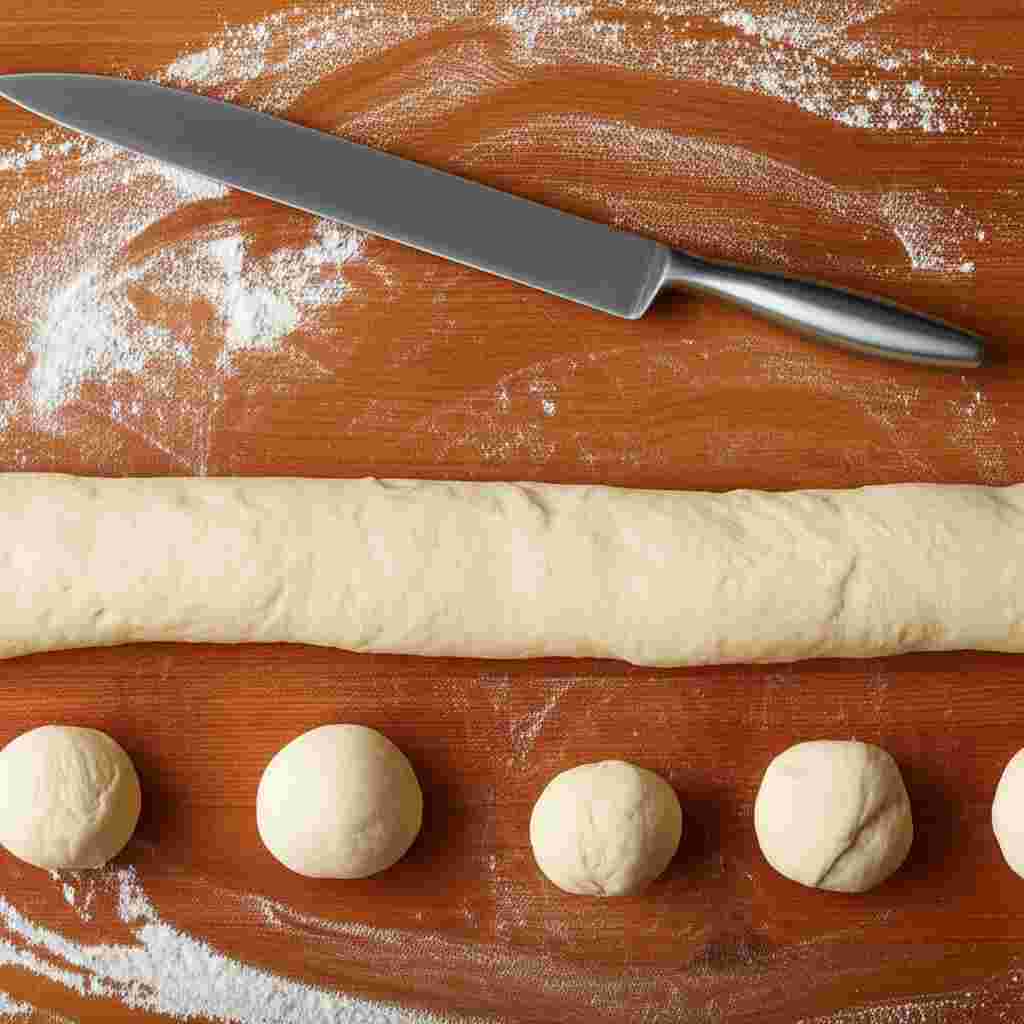
03 Step
Recipe View Divide and Shape: Turn the dough out onto a lightly floured surface. Gently roll and stretch the dough into a 12-inch rope. Using a sharp knife, divide the rope into 8 equal pieces. Roll each piece into a smooth ball. (10 minutes)
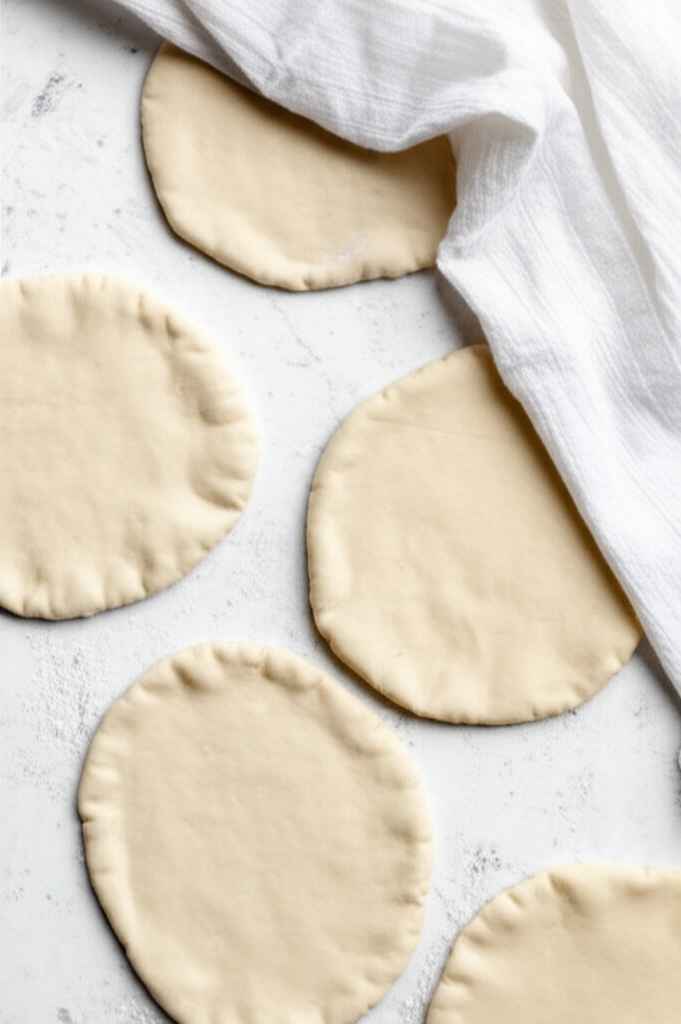
04 Step
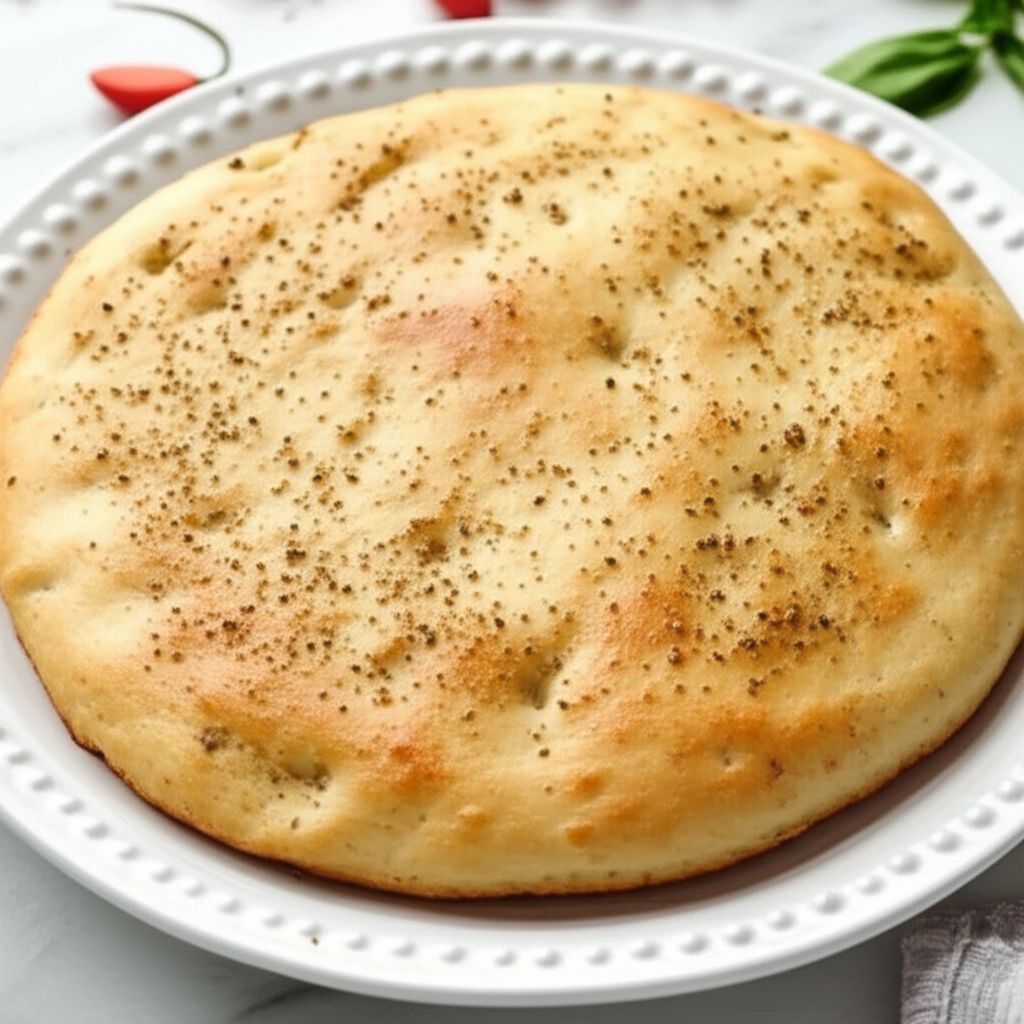
Recipe View Roll into Circles: With a rolling pin, roll each ball into a 6 to 7 inch circle. Place the rolled pitas on a lightly floured countertop, cover with a clean kitchen towel, and let them rise for about 30 minutes, or until slightly puffy. (40 minutes)
05 Step
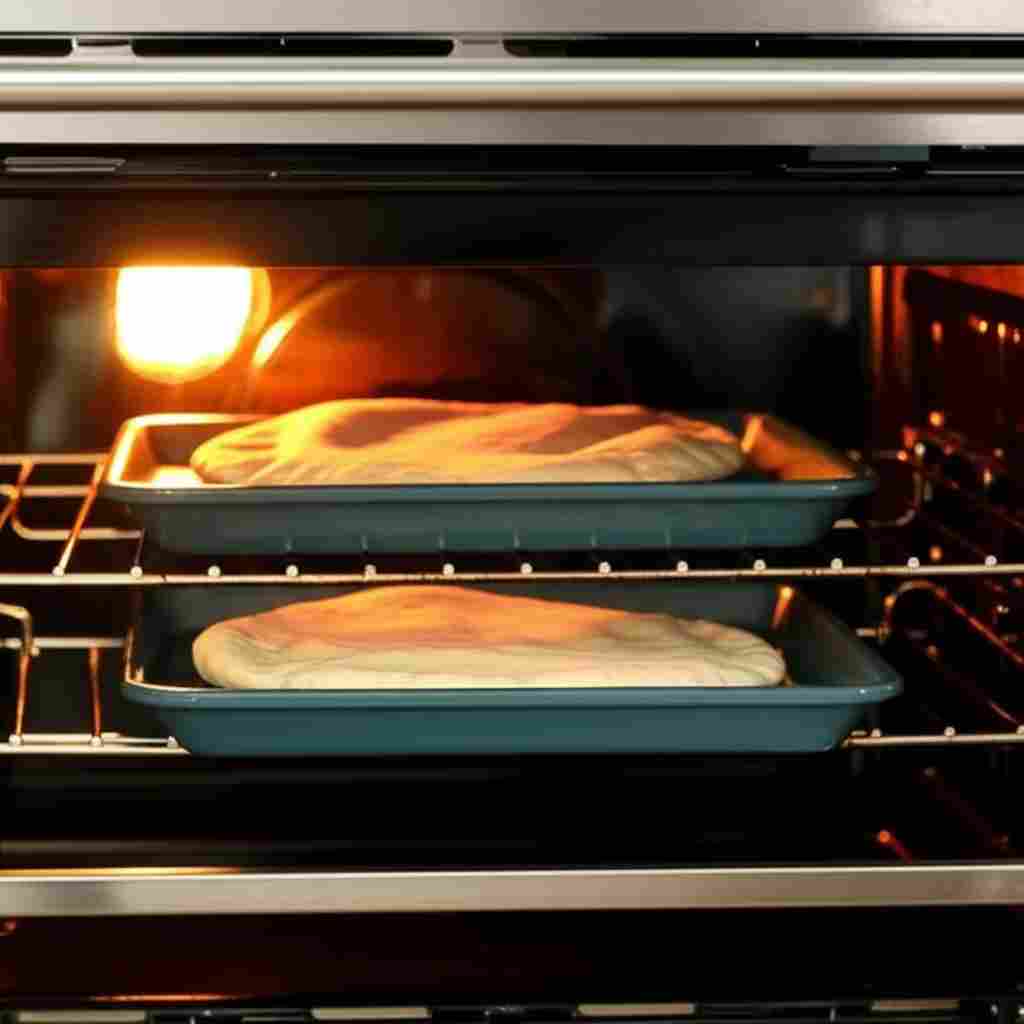
Recipe View Preheat Oven: Preheat your oven to 500°F (260°C). (15 minutes)
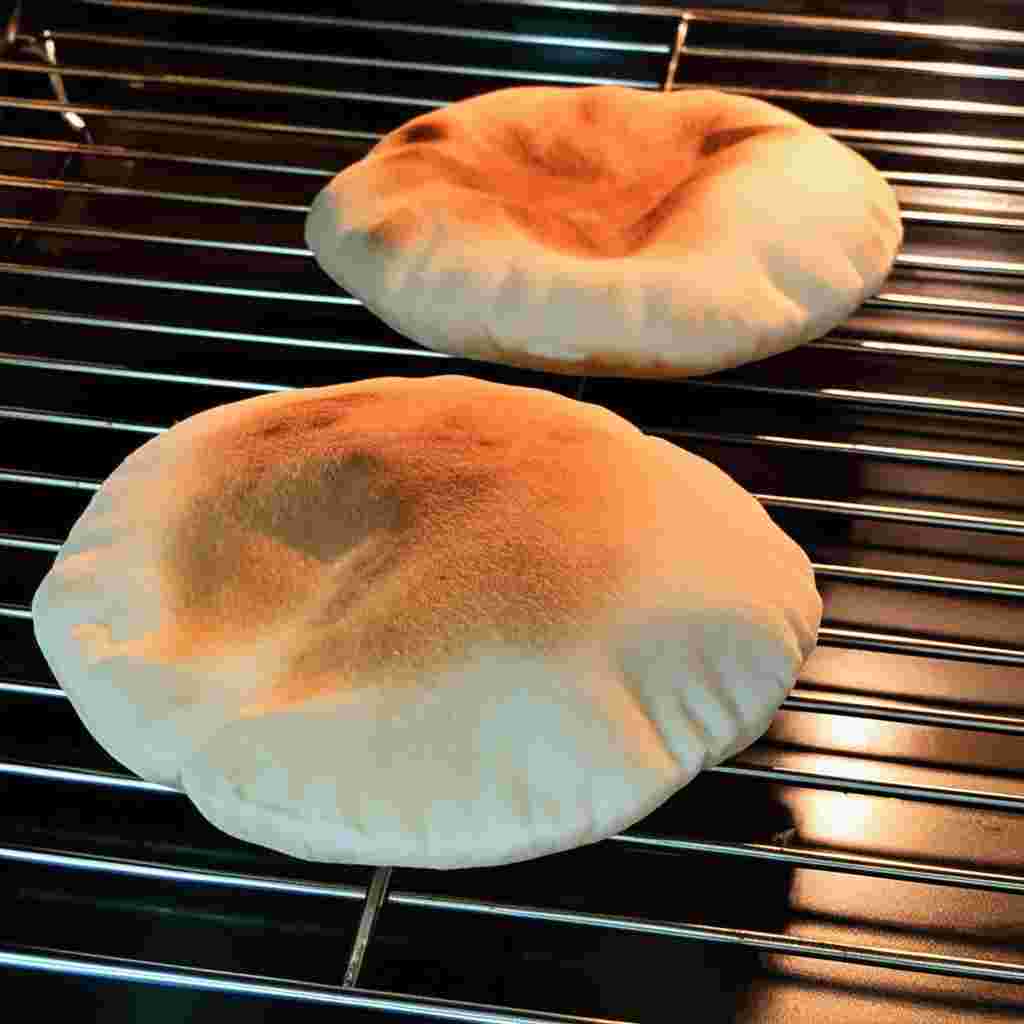
06 Step
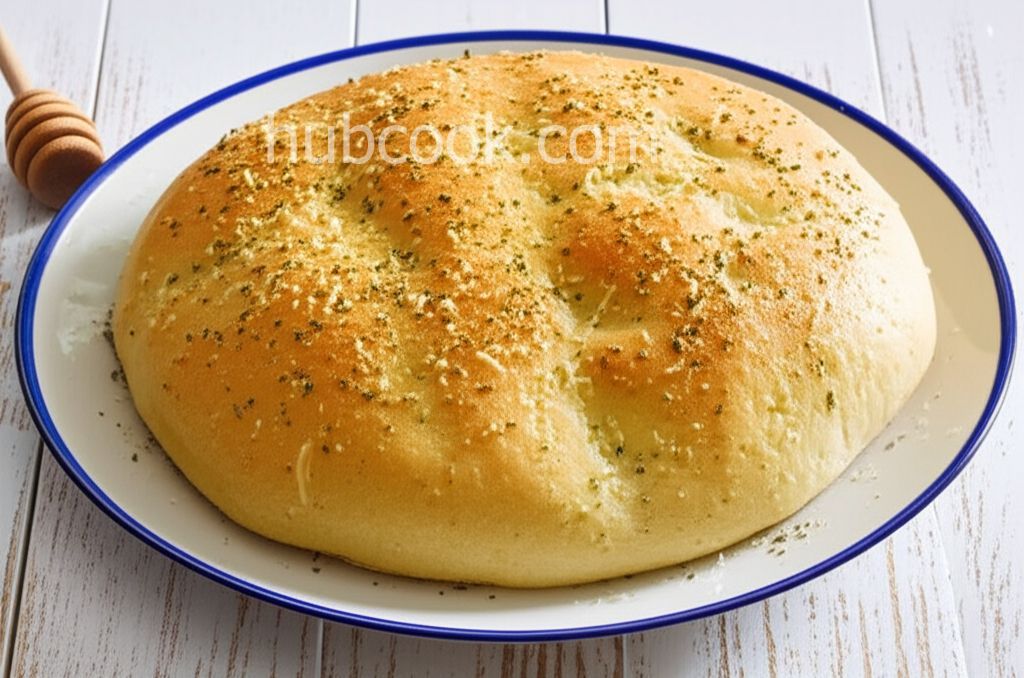
Recipe View Bake: Place 2 or 3 pitas on a wire cake rack. Place the rack directly on the oven rack. Bake for 4 to 5 minutes, or until the pitas are puffed and the tops begin to lightly brown. (5 minutes)
07 Step
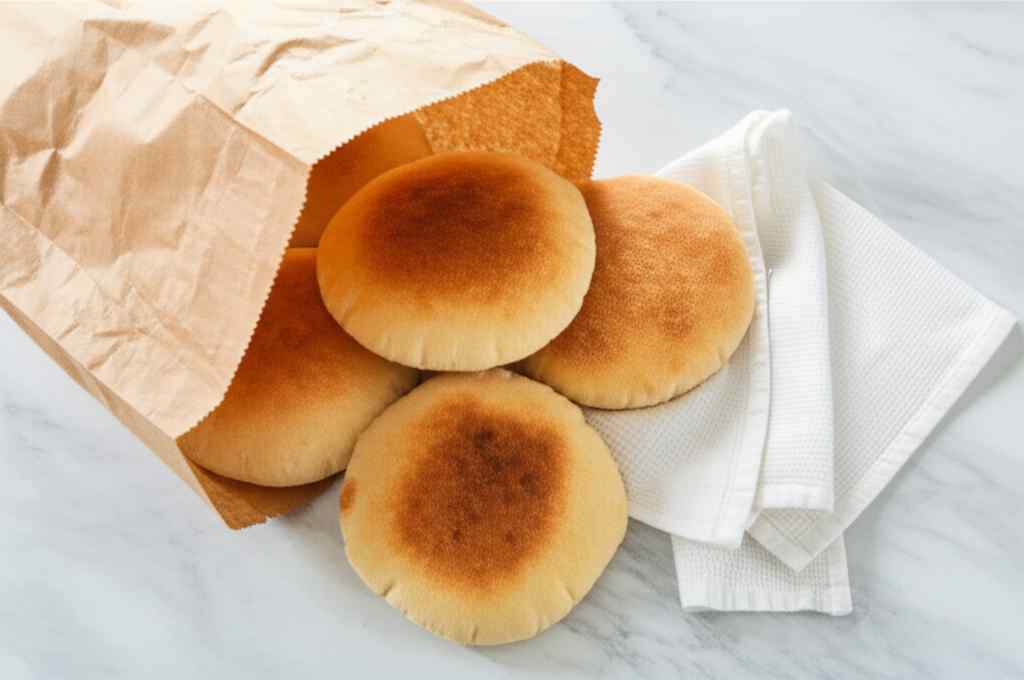
Recipe View Soften: Remove the baked pitas from the oven and immediately place them in a sealed brown paper bag or cover them with a damp kitchen towel to soften. (10 minutes)
08 Step
Recipe View Serve: Once the pitas have softened, cut them in half or split the top edge to create pockets. Enjoy immediately or store for later use. (5 minutes)
You need to login to claim your token
🔐 Login to get tokenYOU MAY ALSO LIKE


RECIPE REVIEWS
LEAVE A REVIEW
Please Rate

Keely Hauck
Nov 11, 2024I've made this recipe several times now, and it's always a hit. I love that I can control the ingredients and avoid any additives.
Fannie Kshlerin
Jun 12, 2024This recipe is a lifesaver! I've always wanted to make my own pita bread, and this made it so easy. The pitas came out perfectly puffed and delicious.
Tamia Quitzon
Jul 19, 2022The tip about softening the pitas after baking is a game-changer! It really makes a difference in the texture. Thank you for sharing this amazing recipe!
Asia Leannon
Aug 17, 2021I was a bit intimidated to try this at first, but the instructions were so clear and easy to follow. My family loved them, and they were gone in minutes!