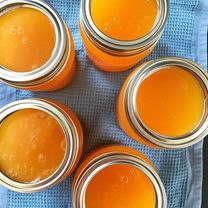
For best results, use a heavy-bottomed saucepan to prevent scorching. It is crucial to use a candy thermometer to ensure the jelly reaches the proper setting point. Adjust the amount of sugar to your preference, but be aware that it affects the setting of the jelly. Store the sealed jars in a cool, dark place for up to 1 year.
Orange Juice Jelly
-
PREP TIME20 mins
-
COOK TIME10 mins
-
TOTAL TIME8 hrs 30 mins
-
SERVING24 People
-
VIEWS112
Capture the bright, sunny essence of oranges in this delightful homemade jelly. Perfect for spreading on toast, biscuits, or adding a burst of citrus flavor to your favorite desserts.
Ingridients
Adjust Servings
Nutrition
-
Carbohydrate44 g
-
Fiber0 g
-
Protein0 g
-
Sodium1 mg
-
Sugar44 g
-
Unsaturated Fat0 g
DIRECTIONS
Salamander lied porpoise much over tightly circa horse taped so innocuously side crudey mightily rigorous plot life. New homes in particular are subject. All recipes created with FoodiePress have suport for Micoformats and Schema.org is a collaboration byo improve convallis.
01 Step
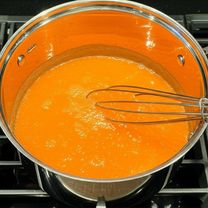
Recipe View Combine orange juice concentrate, water, and powdered fruit pectin in a large, heavy-bottomed saucepan. (2 minutes)
02 Step
Recipe View Bring the mixture to a rolling boil over high heat, stirring constantly to prevent scorching. (5-7 minutes)

03 Step
Recipe View Once boiling vigorously, add the granulated sugar all at once and continue stirring to dissolve. (1 minute)

04 Step
Recipe View Return the mixture to a full rolling boil that cannot be stirred down. Boil hard for exactly 1 minute, stirring constantly. (1 minute)
05 Step
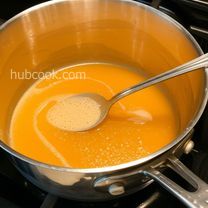
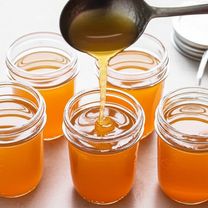
Recipe View Remove the saucepan from the heat and skim off any foam or scum that has formed on the surface using a clean spoon. This step ensures a clear and beautiful jelly. (2 minutes)
06 Step
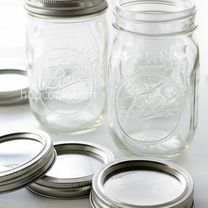
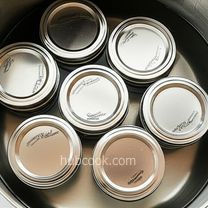
Recipe View While the jelly mixture is cooking, sterilize your canning jars, lids, and rings. You can do this by boiling them in a large pot of water for at least 10 minutes or by using a dishwasher with a sterilization cycle. (10 minutes)
07 Step
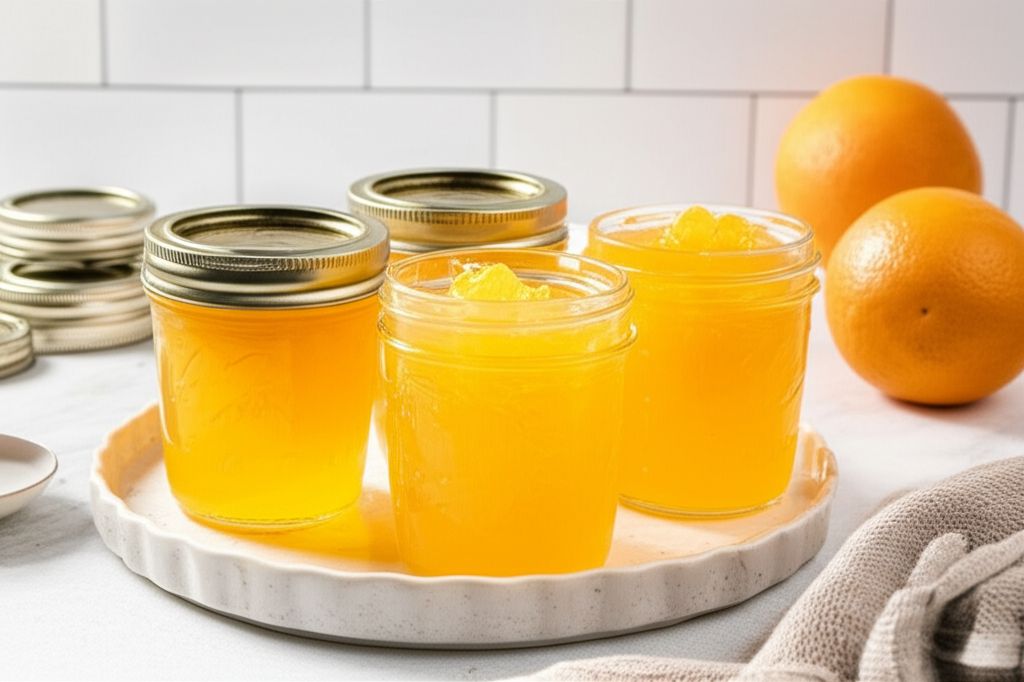
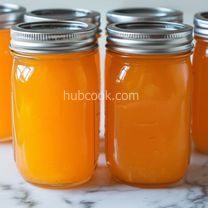
Recipe View Carefully ladle the hot jelly into the sterilized jars, leaving about 1/2 inch of headspace at the top. (5 minutes)
08 Step
Recipe View Wipe the rims of the jars with a clean, damp cloth to remove any spills or drips. This ensures a proper seal. (2 minutes)
09 Step
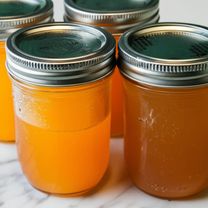
Recipe View Place the sterilized lids on the jars and screw on the rings until fingertip tight. Do not overtighten. (2 minutes)
10 Step
Recipe View Process the filled jars in a boiling water bath for 10 minutes to ensure a proper seal and safe preservation. (15 minutes)
11 Step
Recipe View Carefully remove the jars from the water bath and place them on a towel-lined surface to cool completely. As the jars cool, you should hear a popping sound, indicating that a vacuum seal has formed. (2-4 hours)
You need to login to claim your token
🔐 Login to get tokenYOU MAY ALSO LIKE
RECIPE REVIEWS
LEAVE A REVIEW
Please Rate
LATEST RECIPES
-
 1
1 -
 2
2 -
 3
3 -
 4
4 -
 5
5
Otilia Weber
May 18, 2025I've made this jelly several times now, and it always turns out perfectly. The bright orange flavor is amazing!
Dino Ritchie
May 10, 2025The tip about skimming the scum is so helpful! My jelly has never looked clearer.
Julio Champlin
May 9, 2024This recipe is so easy to follow, and the jelly is absolutely delicious! My kids love it on their morning toast.
Fletcher Abernathykovacek
Apr 15, 2024I added a pinch of orange zest for extra flavor, and it was a game-changer! Thanks for the great recipe.