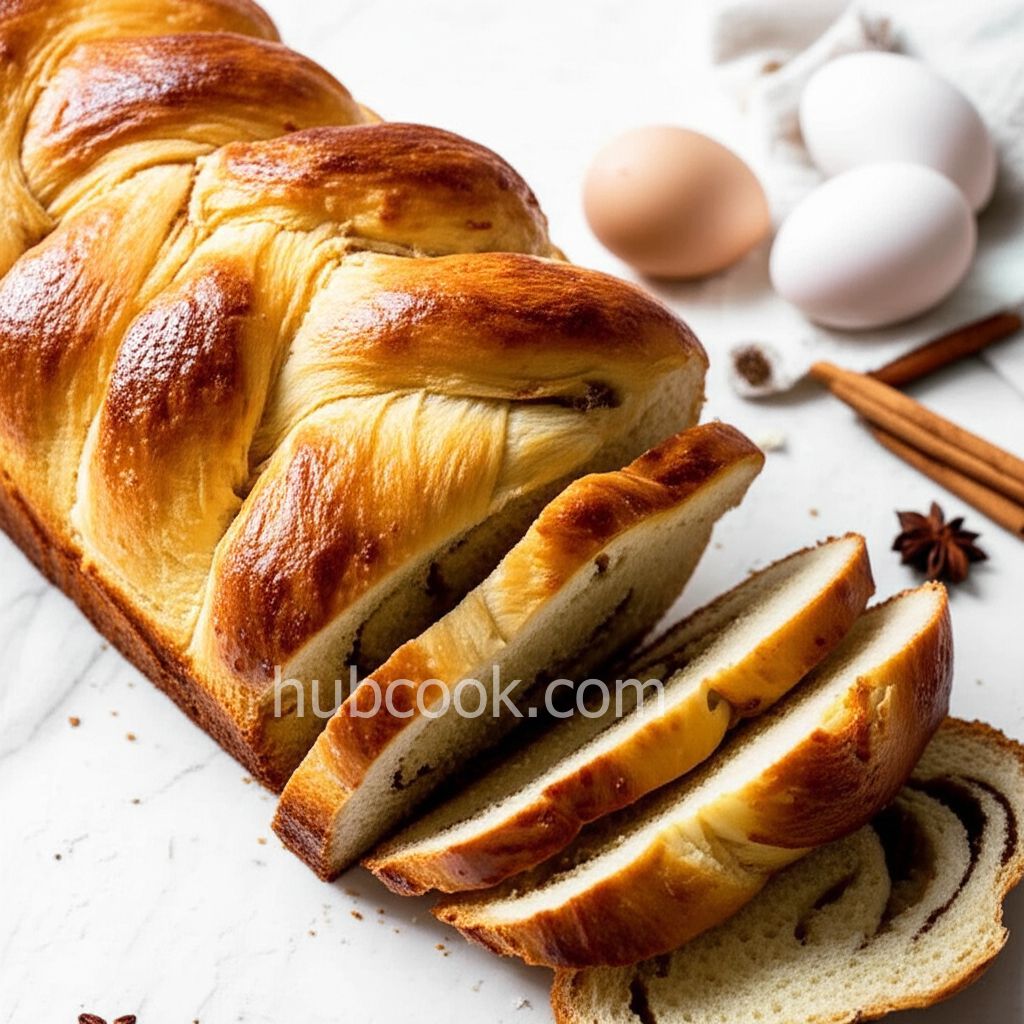
For a richer flavor, use whole milk instead of low-fat milk. Ensure the water and milk are warm, not hot, to avoid killing the yeast. Kneading the dough well is essential for a light and airy texture. If the dough is too sticky, add a little more flour, one tablespoon at a time. The rising time may vary depending on the temperature of your kitchen. Be patient and let the dough rise fully for the best results. To check for doneness, insert a wooden skewer into the center of a loaf. If it comes out clean, the bread is done.
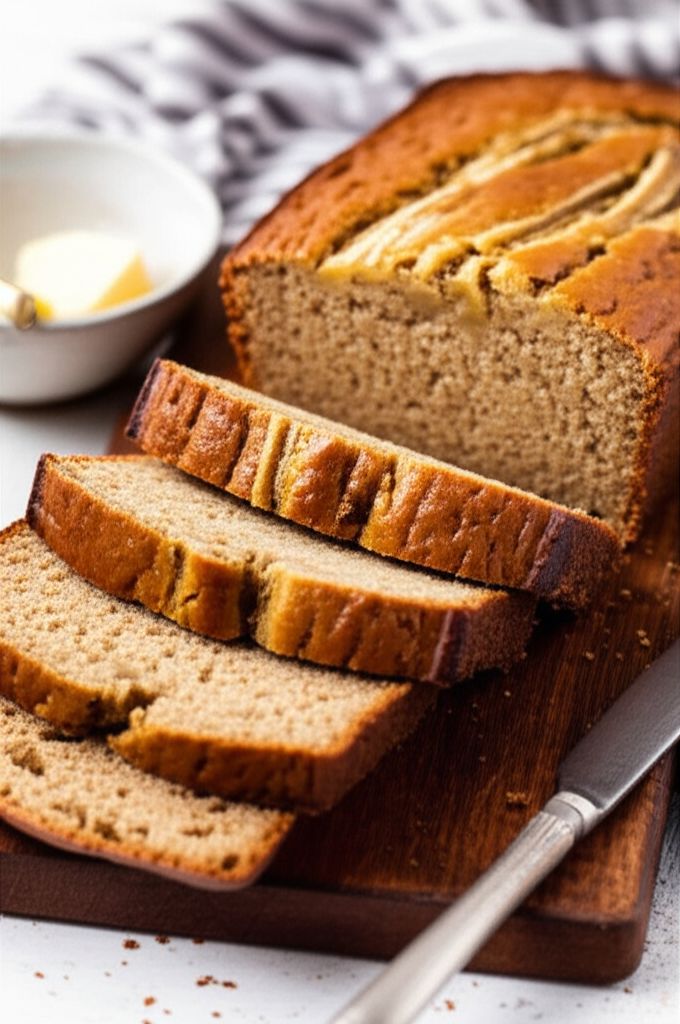
Italian Anise Bread
-
PREP TIME15 mins
-
COOK TIME45 mins
-
TOTAL TIME10 hrs
-
SERVING20 People
-
VIEWS13
Embark on a culinary journey to Italy with this traditional anise bread. Passed down through generations, this recipe captures the essence of old-world baking, delivering a fragrant and flavorful loaf that's perfect for sharing with loved ones.
Ingridients
Adjust Servings
Nutrition
-
Carbohydrate81 g
-
Cholesterol89 mg
-
Fiber3 g
-
Protein12 g
-
Saturated Fat4 g
-
Sodium73 mg
-
Sugar22 g
-
Fat8 g
-
Unsaturated Fat0 g
Follow The Directions
01
StepIn a large bowl, whisk together flour, sugar, and anise seeds. Create a well in the center. (5 minutes)
02
StepIn a separate bowl, combine warm water and yeast. Let stand until the yeast softens and becomes foamy, about 10 minutes. (10 minutes)
03
StepIn another bowl, whisk together warm milk, eggs, and melted butter. Pour the yeast mixture into the milk mixture, then add the combined wet ingredients to the well in the flour mixture. Knead by hand until the dough is smooth and no longer sticky. (15 minutes)
04
StepCover the dough with a clean, damp cloth and let it rise in a warm place for 8 hours or overnight, until doubled in size. (480 minutes)
05
StepGrease and flour six loaf pans. (10 minutes)
06
StepPunch down the risen dough and divide it into six equal portions. Shape each portion into a ball and place it in a prepared loaf pan. (15 minutes)
07
StepCover the loaf pans and let the dough rise for another hour. (60 minutes)
08
StepPreheat the oven to 350 degrees F (175 degrees C). (10 minutes)
09
StepBake the loaves in the preheated oven for 45 to 50 minutes, or until golden brown and cooked through. (50 minutes)
You need to login to claim your token
🔐 Login to get tokenYOU MAY ALSO LIKE

RECIPE REVIEWS
LEAVE A REVIEW
Please Rate
Bell Mueller
Jun 28, 2025This recipe brought back so many memories of my grandmother's baking. Thank you!
Dejon Pacocha
Jun 27, 2025The instructions were clear and easy to follow. Even a beginner baker like me could make it.
Tamia Quitzon
Jun 26, 2025The aroma while baking was heavenly. Definitely worth the wait!
Joshua Schmeler
Jun 25, 2025I made this for Easter and it was a showstopper. Beautiful and tasty!
Freda Jacobs
Jun 25, 2025This recipe is amazing! My family loved it. The anise flavor is perfect.
Jennie Wilderman
Jun 24, 2025I had trouble with the dough rising. Maybe my yeast wasn't fresh enough?
Casper Bernier
Jun 23, 2025The bread was a little dry. I'll try adding a bit more butter next time.
Tomas Hudson
Jun 4, 2025Delicious! I added a lemon zest for a brighter flavor and it was a hit!
Rene Bradtke
Jun 2, 2025What is the best way to store this bread to keep it from drying out quickly?
Werner Pacocha
May 31, 2025Could I use a stand mixer for the kneading process to save time?