For extra flavor, consider adding a pinch of smoked paprika or garlic powder to the salt before sprinkling it on the fried chicken skin. Be careful not to overcrowd the pot when frying, as this will lower the oil temperature and result in less crispy cracklings. If you prefer a richer flavor, you can use duck fat or lard for frying instead of vegetable oil. The refrigerated chicken skin can be stored in an airtight container for up to 24 hours before frying.
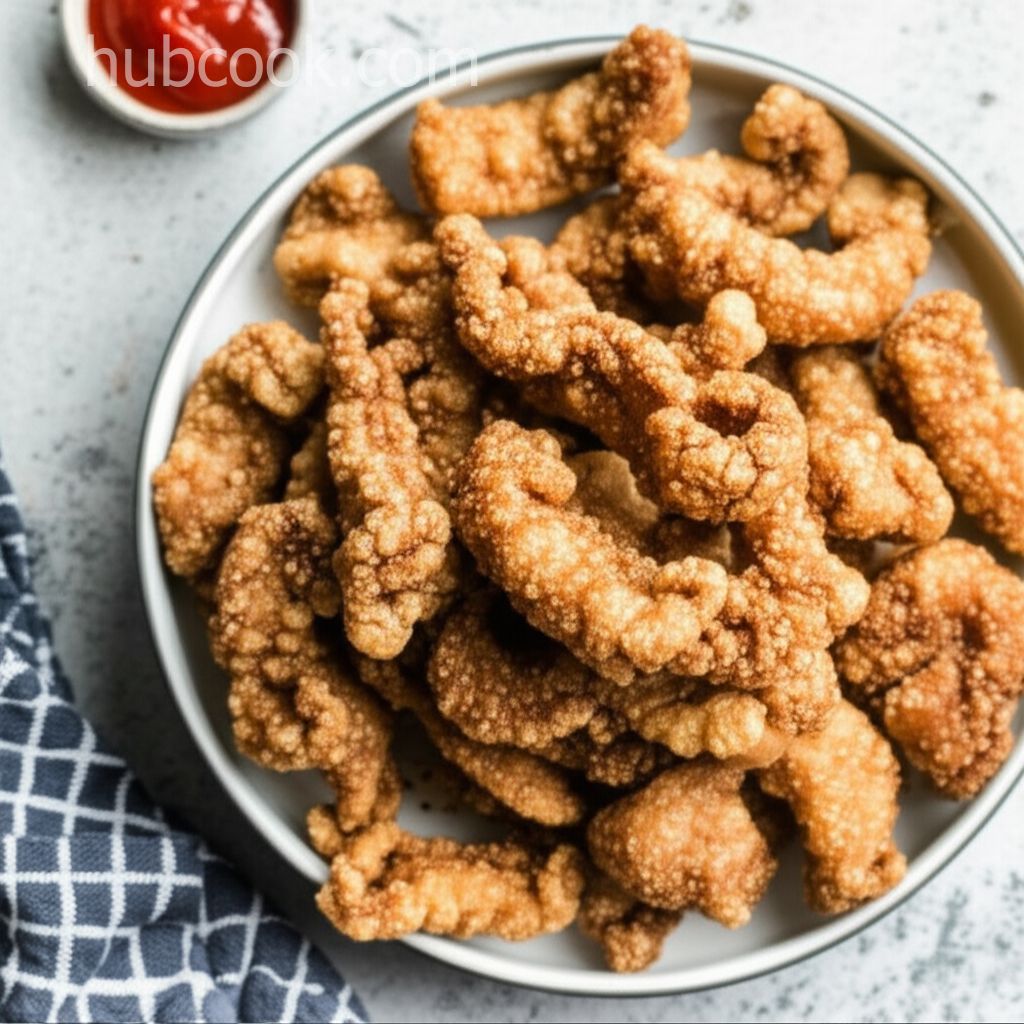
Crispy Fried Chicken Skin
-
PREP TIME5 mins
-
COOK TIME25 mins
-
TOTAL TIME8 hrs 30 mins
-
SERVING4 People
-
VIEWS19
Transform humble chicken skin into an addictive snack! These crispy, golden morsels deliver an explosion of savory flavor and an irresistible crunch, offering a delightful alternative to traditional pork rinds.
Ingridients
Adjust Servings
Nutrition
-
Cholesterol22 mg
-
Protein7 g
-
Saturated Fat2 g
-
Sodium60 mg
-
Fat13 g
-
Unsaturated Fat0 g
Follow The Directions
01
StepPrepare the Chicken Skin: In a large stockpot, place the chicken skins and cover completely with cold water. Bring to a rolling boil and cook for 10 minutes. This process renders excess fat and helps achieve ultimate crispiness. (Time: 10 minutes)
02
StepRender and Slice: Drain the boiled chicken skins thoroughly. Transfer them to a cutting board. Using a sharp knife, carefully scrape off any remaining excess fat from the inside of the skin. Cut the skin into strips approximately 1/2-inch wide. (Time: 15 minutes)
03
StepRefrigerate: Arrange the sliced chicken skin in a single layer on a baking sheet lined with parchment paper. Refrigerate uncovered for at least 8 hours, or preferably overnight. This crucial step allows the skin to dry out, leading to maximum crispness during frying. (Time: 8+ hours)
04
StepFry to Perfection: Heat the vegetable oil in a large, heavy-bottomed stockpot or Dutch oven to 350°F (175°C). Use a deep-fry thermometer to ensure accurate temperature control. Carefully lower a small handful of chicken skin strips into the hot oil, being careful not to overcrowd the pot. (Time: 2 minutes)
05
StepDrain and Season: Fry the chicken skin until golden brown and exquisitely crisp, about 3-4 minutes. Use a slotted spoon or spider to transfer the cracklings to a plate lined with paper towels to drain excess oil. Immediately sprinkle generously with sea salt flakes while still hot. (Time: 4 minutes)
06
StepServe and Enjoy: Repeat the frying process with the remaining chicken skin. Serve immediately and savor the addictive crunch and savory flavor of these homemade chicken cracklings. They are best enjoyed fresh! (Time: variable)
You need to login to claim your token
🔐 Login to get tokenYOU MAY ALSO LIKE
RECIPE REVIEWS
LEAVE A REVIEW
Please Rate

Oral Schumm
Jun 27, 2025The key is definitely letting the skin dry out in the fridge. Mine were perfectly crispy!
Ebba Oreilly
Jun 27, 2025This recipe saved my party! Everyone was impressed and loved it.
Clovis Gerhold
Jun 18, 2025So much better than pork rinds! I'm hooked!
Pierre Sawayn
May 29, 2025I added a little cayenne pepper for a kick, and they were amazing!
Blake Franecki
May 20, 2025Easy to follow recipe and the results were fantastic.
Sabryna Koelpin
May 19, 2025I never thought chicken skin could be so delicious! This recipe is a game-changer!
Clair Botsford
May 16, 2025My family devoured these in minutes. I'm making a double batch next time!