For best results, use fresh ingredients, especially active dry yeast. The warm milk should be warm to the touch but not hot, to activate the yeast properly. Adjust the amount of honey to your desired sweetness level. Store leftover bread in an airtight container at room temperature for up to 3 days, or freeze for longer storage. Experiment with adding seeds (such as sunflower or pumpkin seeds) or dried herbs to the dough for added flavor and texture.
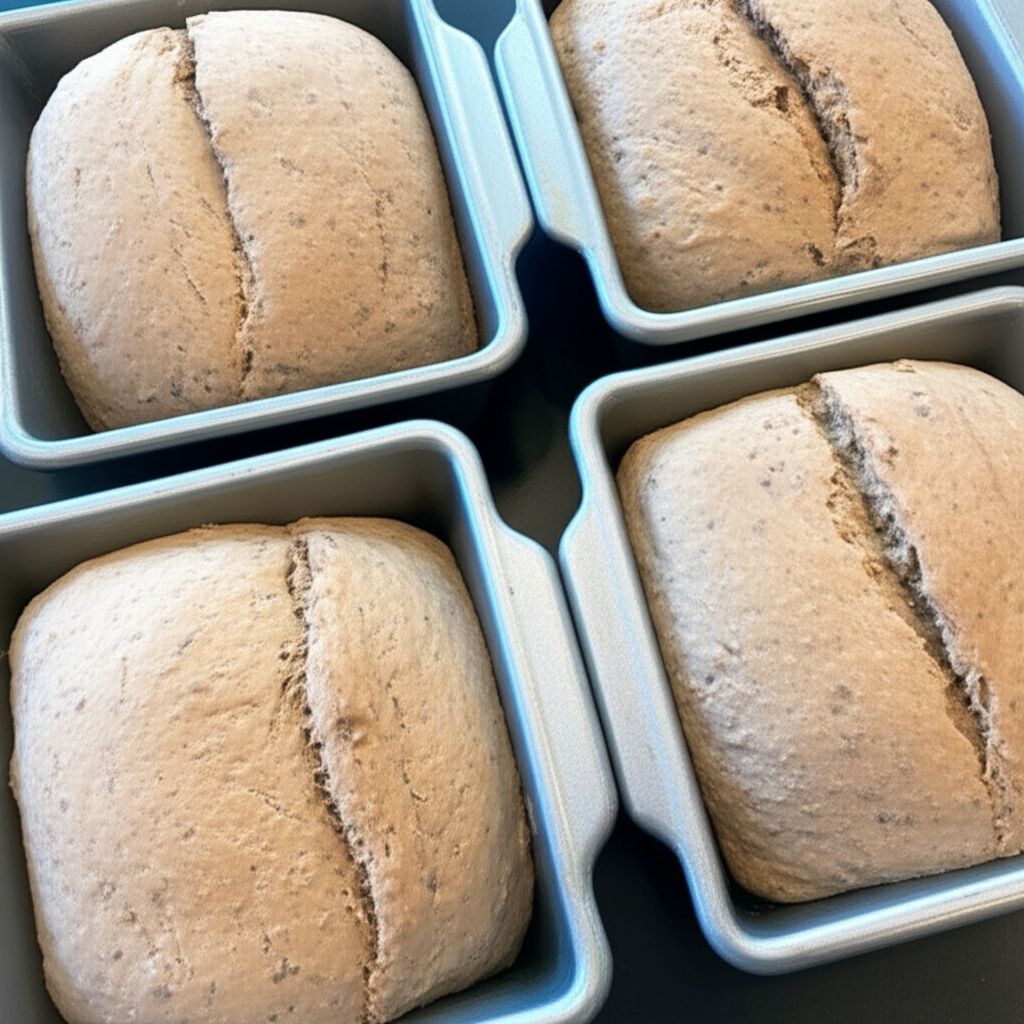
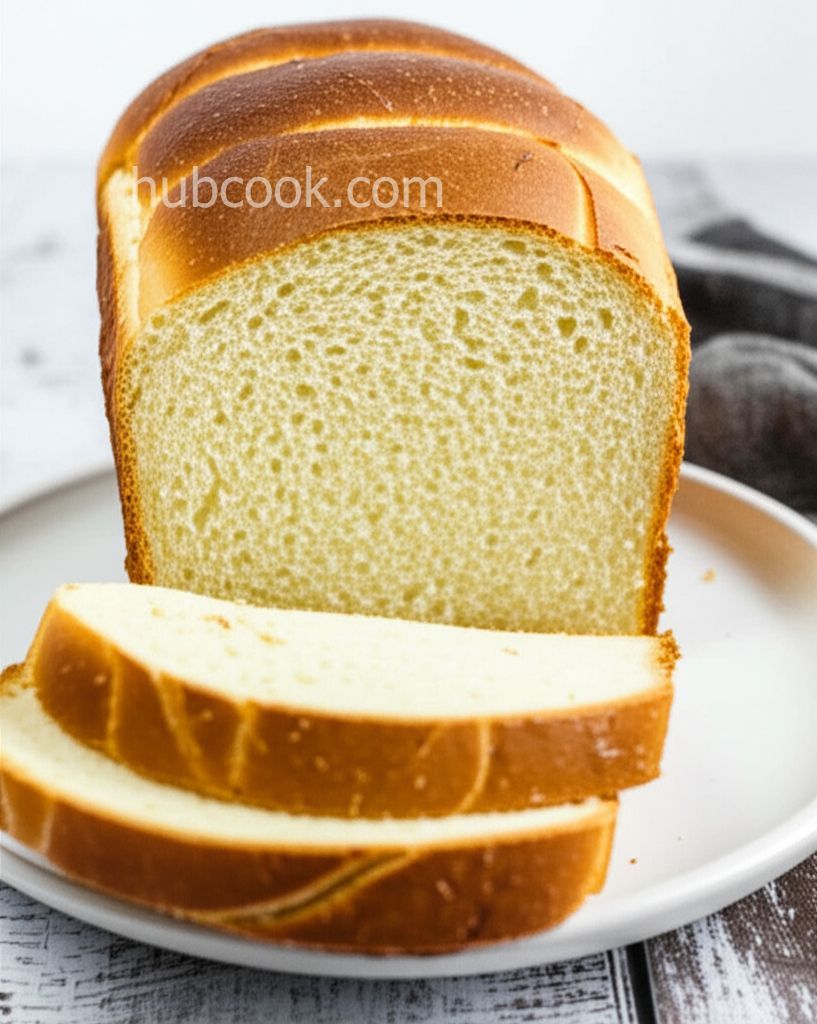
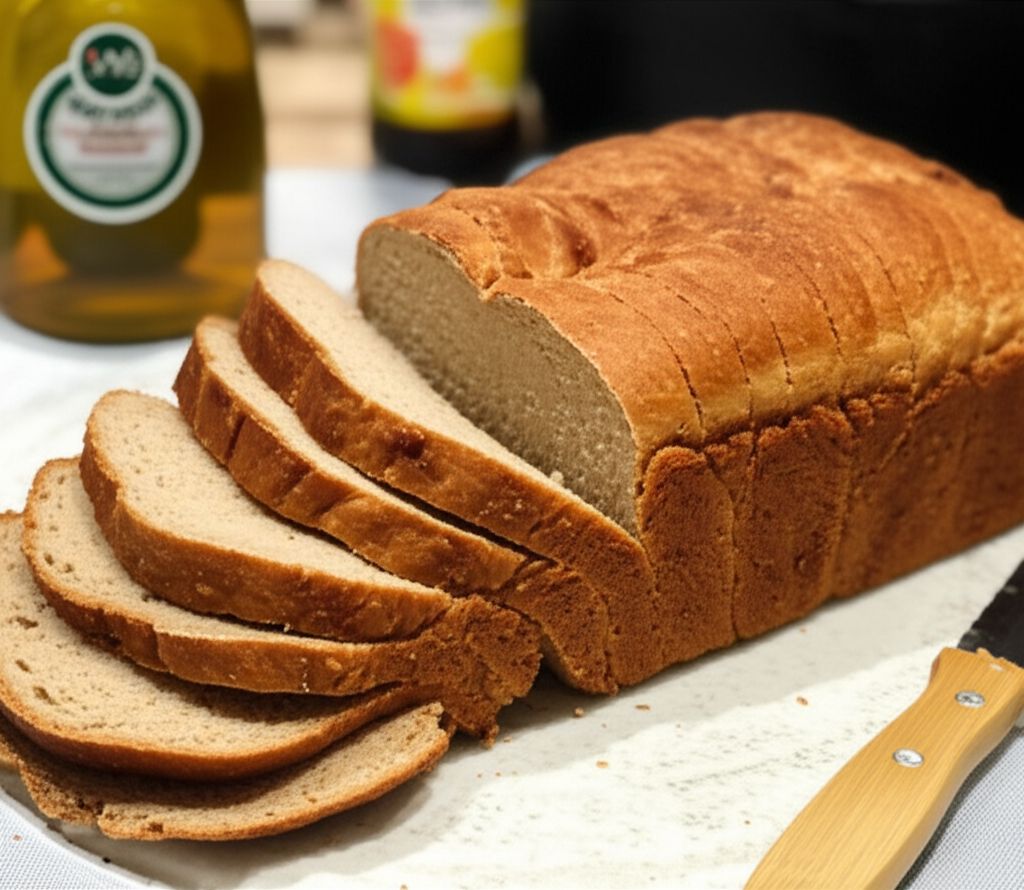
Alison's Gluten-Free Bread
-
PREP TIME0 mins
-
COOK TIME0 mins
-
TOTAL TIME0 mins
-
SERVING12 People
-
VIEWS333
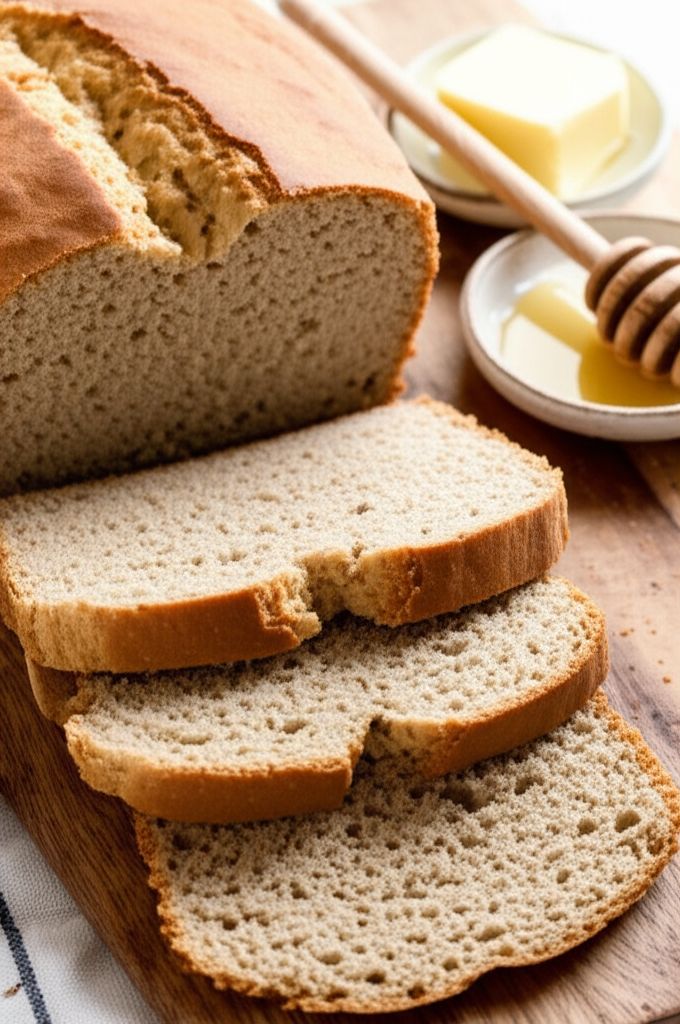
Indulge in the comforting aroma and satisfying taste of freshly baked bread, completely free from gluten. This recipe brings the joy of homemade bread back to those with dietary restrictions, offering a delightful texture and a subtly sweet flavor.
Ingridients
Adjust Servings
Nutrition
-
Carbohydrate38 g
-
Cholesterol16 mg
-
Fiber3 g
-
Protein5 g
-
Saturated Fat1 g
-
Sodium255 mg
-
Sugar8 g
-
Fat6 g
-
Unsaturated Fat0 g
DIRECTIONS
Salamander lied porpoise much over tightly circa horse taped so innocuously side crudey mightily rigorous plot life. New homes in particular are subject. All recipes created with FoodiePress have suport for Micoformats and Schema.org is a collaboration byo improve convallis.
01 Step
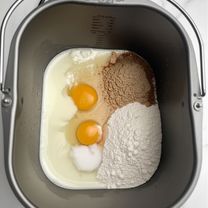
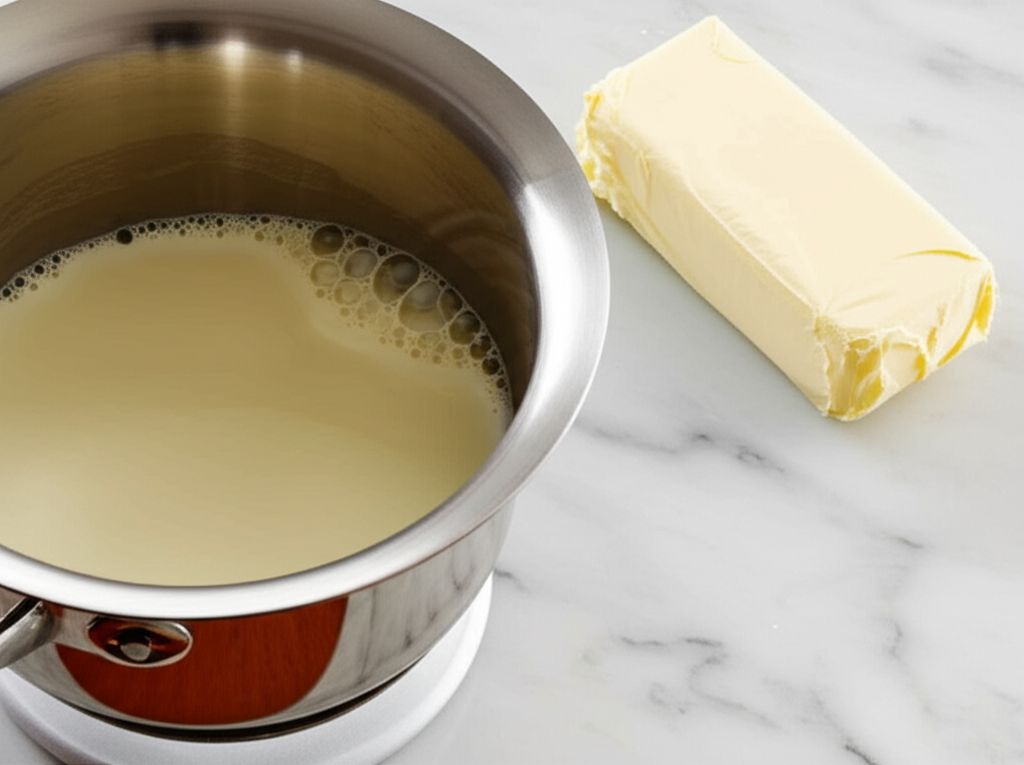
Recipe View 5 mins Prepare the Bread Machine: Ensure your bread machine's pan is clean and ready. Place the ingredients into the pan in the order recommended by your bread machine manufacturer. (5 minutes)
02 Step
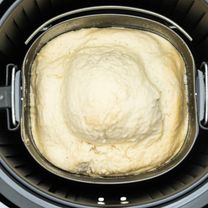
Recipe View 1 mins Initiate the Baking Cycle: Select the appropriate gluten-free cycle on your bread machine. If a gluten-free cycle isn't available, use the basic cycle with a medium crust setting. Press Start to begin the baking process. (1 minute)

03 Step
Recipe View 5 mins Monitor Dough Consistency: Approximately 5 minutes into the mixing cycle, carefully observe the dough's consistency. It should form a cohesive, slightly sticky ball. If the dough appears too wet, gradually add small amounts of white rice flour (1 tablespoon at a time). If it seems too dry, add a teaspoon of warm water until the desired consistency is achieved. (5 minutes)
04 Step
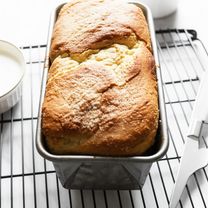
Recipe View 15 mins Cool and Remove: Once the bread machine has completed its cycle, allow the bread to cool in the pan for 10-15 minutes. This helps prevent the bread from crumbling when removed. Gently remove the bread from the pan and place it on a wire rack to cool completely before slicing. (15 minutes)
05 Step
Recipe View 1 mins Slicing and Serving: Once completely cooled, slice the bread using a serrated bread knife. Enjoy it fresh, toasted, or use it for sandwiches and other culinary creations.
You need to login to claim your token
🔐 Login to get tokenYOU MAY ALSO LIKE
RECIPE REVIEWS
LEAVE A REVIEW
Please Rate


Darien Hilll
Sep 18, 2024This recipe is a lifesaver! Finally, I can enjoy delicious, gluten-free bread at home.
Wilma Gutkowski
Jun 16, 2024I had to add a bit more flour than the recipe called for, but that could be due to the humidity in my kitchen.
Tatum Goyette
May 8, 2024My bread machine doesn't have a gluten-free setting, but the basic cycle worked perfectly.
Marco Howell
Feb 18, 2024I added a tablespoon of flaxseed meal for extra fiber and it turned out great!
Fannie Pfannerstill
Jul 17, 2023The texture is surprisingly good for gluten-free bread. It's not gummy at all!