For a smoother dough, use finely ground salt. If the dough is too sticky, add a little more flour, one tablespoon at a time. To prevent the ornaments from puffing up during baking, prick them all over with a fork before baking. Once cooled, decorate with acrylic paints, markers, glitter, or any other desired embellishments. Seal the finished ornaments with a clear varnish or sealant to protect them from moisture and ensure their longevity.
Salt Dough
-
PREP TIME20 mins
-
COOK TIME2 hrs
-
TOTAL TIME2 hrs 40 mins
-
SERVING12 People
-
VIEWS138
Transform simple ingredients into lasting keepsakes with this salt dough recipe. Perfect for crafting personalized ornaments and decorations, this dough bakes to a durable finish, ready to be painted and cherished for years to come. A delightful project for all ages!
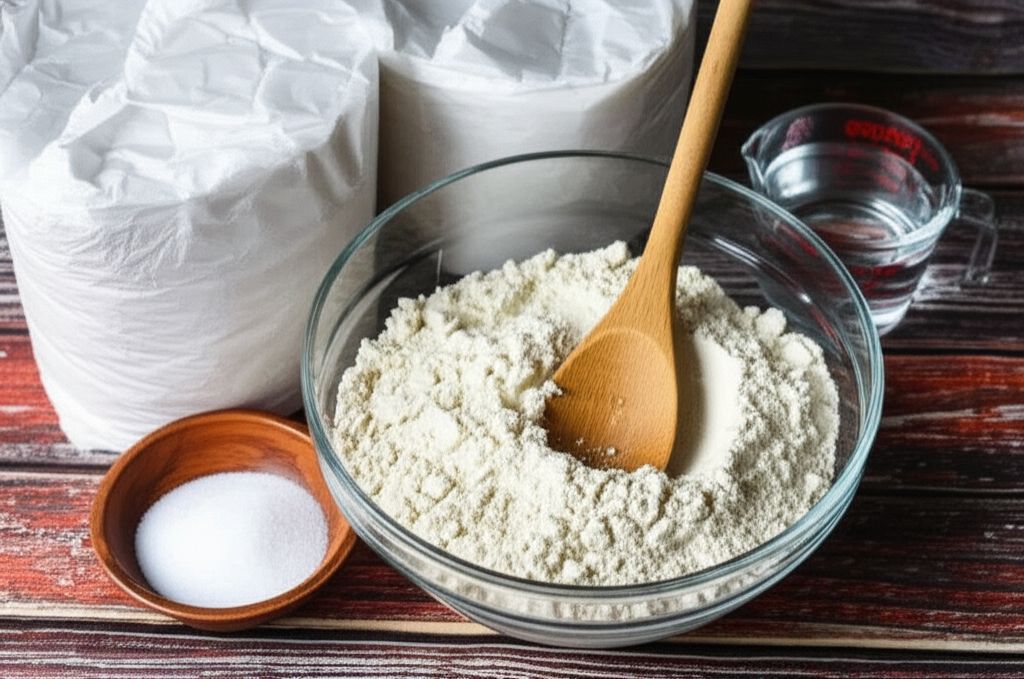
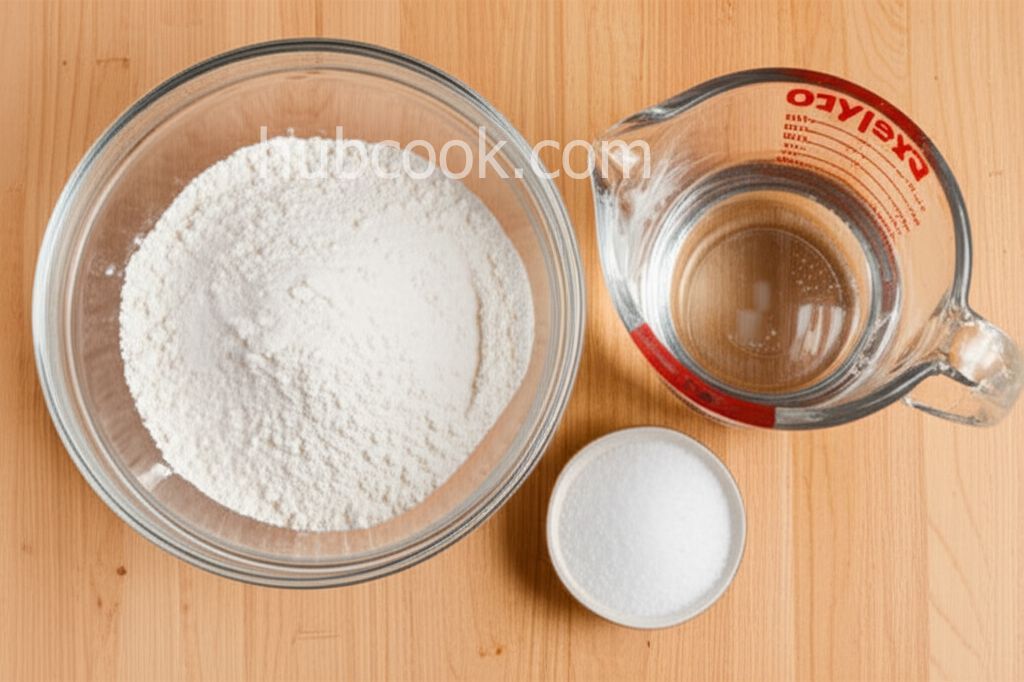
Ingridients
Adjust Servings
Nutrition
Follow The Directions
01
StepPreheat oven to 250°F (120°C). Line a baking sheet with parchment paper. (5 minutes)
02
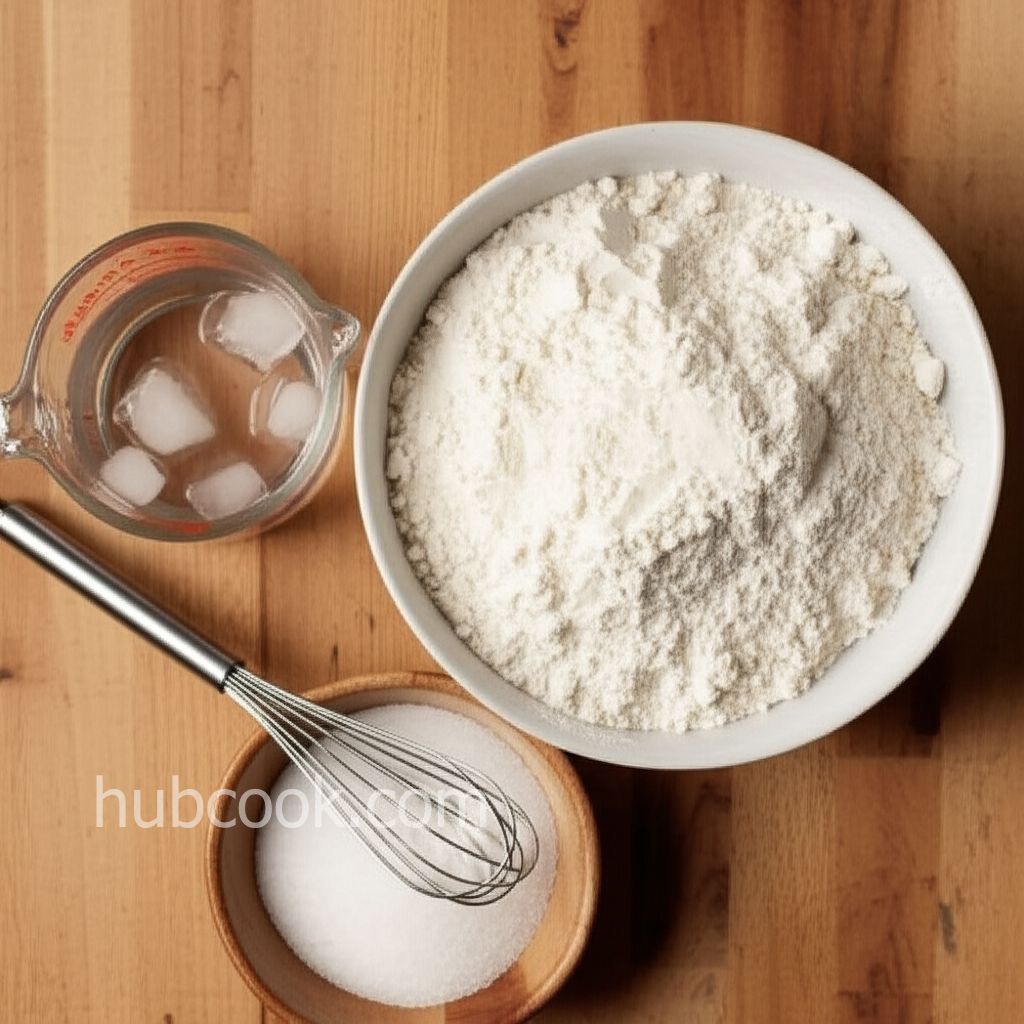
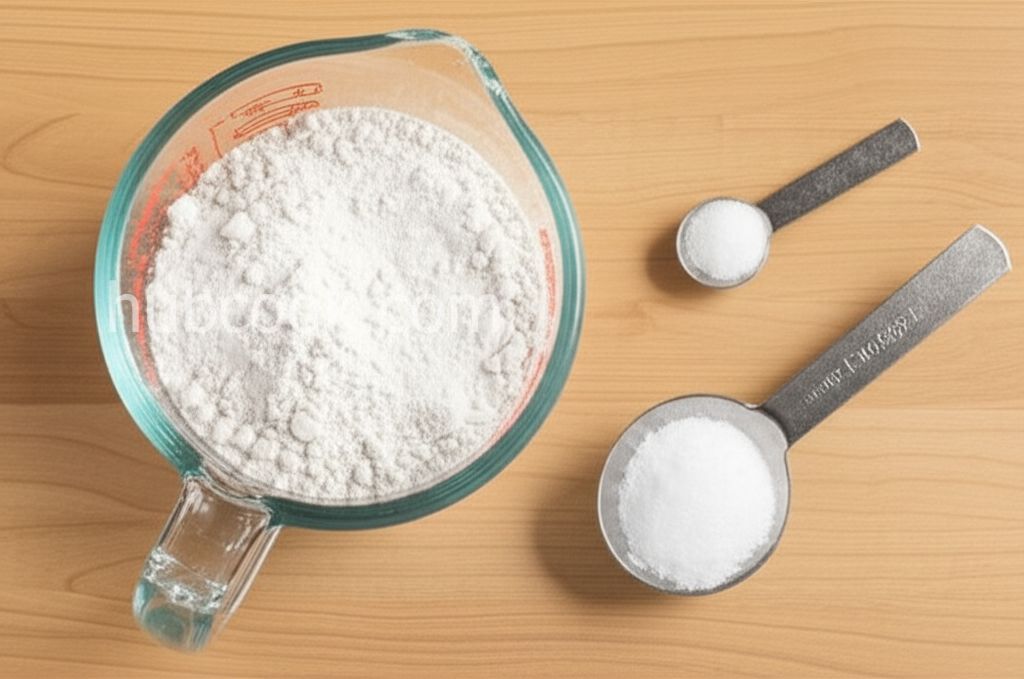
StepIn a large bowl, whisk together the flour and salt until evenly combined. (2 minutes)
03
StepGradually add the ice water, a few tablespoons at a time, mixing well after each addition until a dough forms. (5 minutes)
04
StepTurn the dough out onto a lightly floured surface and knead for 8-10 minutes, until smooth and elastic. (10 minutes)
05
StepWrap the dough in plastic wrap and let it rest at room temperature for 20 minutes to allow the gluten to relax. (20 minutes)
06
StepOn a lightly floured surface, roll out the dough to a thickness of 1/8 inch. (5 minutes)
07
StepUse cookie cutters to cut out desired shapes. Transfer the shapes to the prepared baking sheet. (10 minutes)
08
StepUse a toothpick or skewer to create a hole in each ornament for hanging, if desired. (5 minutes)
09
StepBake in the preheated oven for 2-2.5 hours, or until the ornaments are dry and hard. Baking time will vary depending on the thickness of the ornaments. (120 minutes)
10
StepRemove from the oven and let cool completely on the baking sheet before decorating. (60 minutes)
You need to login to claim your token
🔐 Login to get tokenYOU MAY ALSO LIKE


RECIPE REVIEWS
LEAVE A REVIEW
Please Rate

Lee Williamson
Feb 25, 2025Great activity for a rainy day. We painted ours with watercolors, and they look fantastic!
Lavonne Anderson
Jan 7, 2025Make sure to poke a big enough hole for hanging before baking because it's almost impossible to do it after!
Frida Kautzer
Dec 17, 2024I found that baking them on a slightly lower temperature for a longer time prevented cracking.
Reinhold Rau
Nov 6, 2024A classic recipe that never fails to bring joy. Thanks for sharing!
Gilberto Franecki
Oct 20, 2024So much fun! I made little paw prints with my dog's feet and they came out great!
Justina Moen
Oct 9, 2024My kids loved making these! We added glitter before baking for extra sparkle.
Christa Dibbert
Jul 26, 2024I tried this with my grandchildren, and it was a huge success. We'll definitely be making these again next year!
Yvonne Kutch
Jun 20, 2024This recipe is so easy to follow, and the ornaments turned out beautifully!
Deangelo Stamm
Apr 10, 2024Fantastic and easy. We used natural food coloring for the dough and it turned out great
Abdul Swaniawski
Dec 24, 2023The salt dough cracked a little during baking, any tips on preventing that?