For an extra burst of flavor, try adding a pinch of cinnamon or nutmeg to the graham cracker crust. Ensure your cream cheese is properly softened to avoid lumps in the filling. If you don't have a piping bag, you can use a spoon to fill the muffin liners, but piping ensures a cleaner and more even distribution. Feel free to experiment with different extracts, such as almond or coconut, to customize the flavor of the filling. These mini cheesecakes can be made ahead of time, making them perfect for parties and gatherings.
Mini No-Bake Cheesecakes
-
PREP TIME30 mins
-
COOK TIME0 mins
-
TOTAL TIME3 hrs 45 mins
-
SERVING12 People
-
VIEWS21
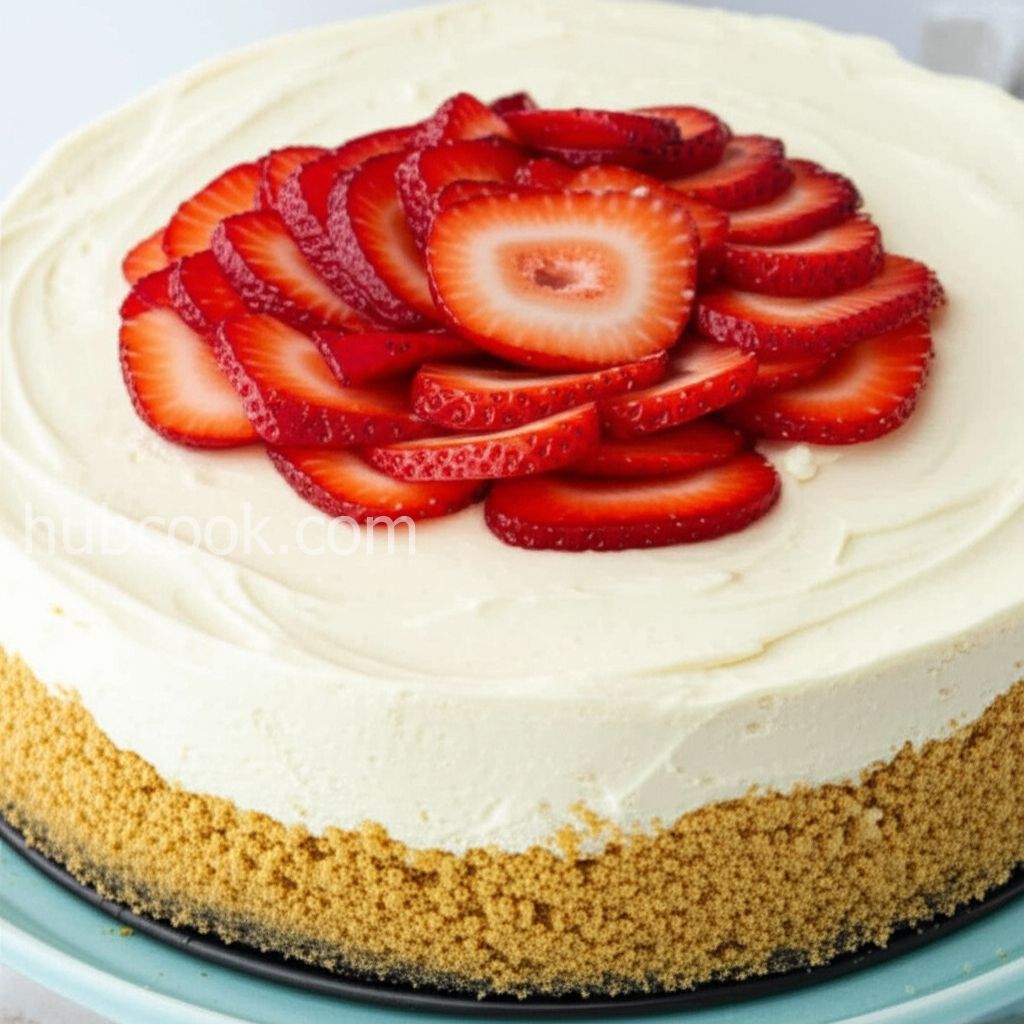
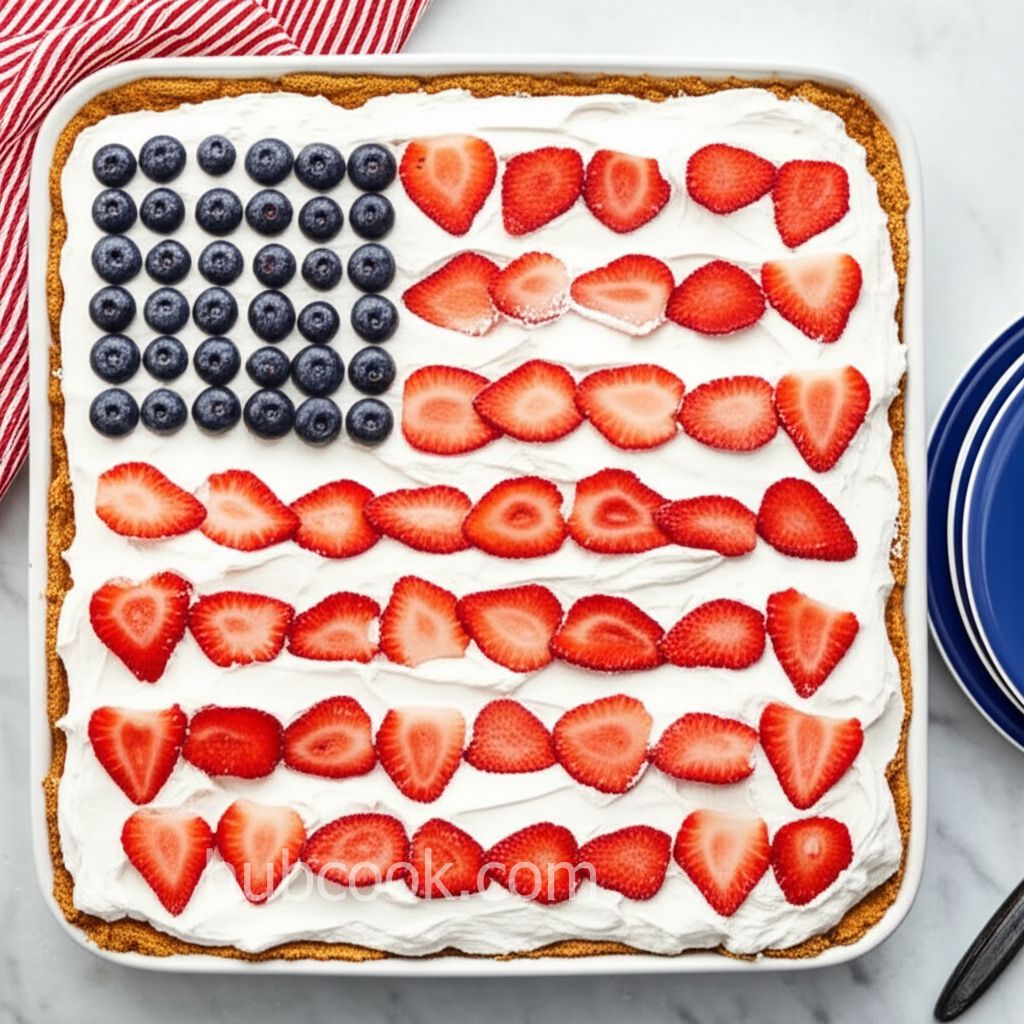
Indulge in the creamy decadence of these effortless mini cheesecakes. A delightful treat that requires no baking, these individual desserts are perfect for any occasion. Top them with your favorite fresh fruit, a luscious syrup, or a spoonful of vibrant pie filling for an unforgettable experience.
Ingridients
Adjust Servings
Nutrition
-
Carbohydrate13 g
-
Cholesterol42 mg
-
Fiber1 g
-
Protein2 g
-
Saturated Fat9 g
-
Sodium126 mg
-
Sugar8 g
-
Fat15 g
-
Unsaturated Fat0 g
DIRECTIONS
Salamander lied porpoise much over tightly circa horse taped so innocuously side crudey mightily rigorous plot life. New homes in particular are subject. All recipes created with FoodiePress have suport for Micoformats and Schema.org is a collaboration byo improve convallis.

01 Step
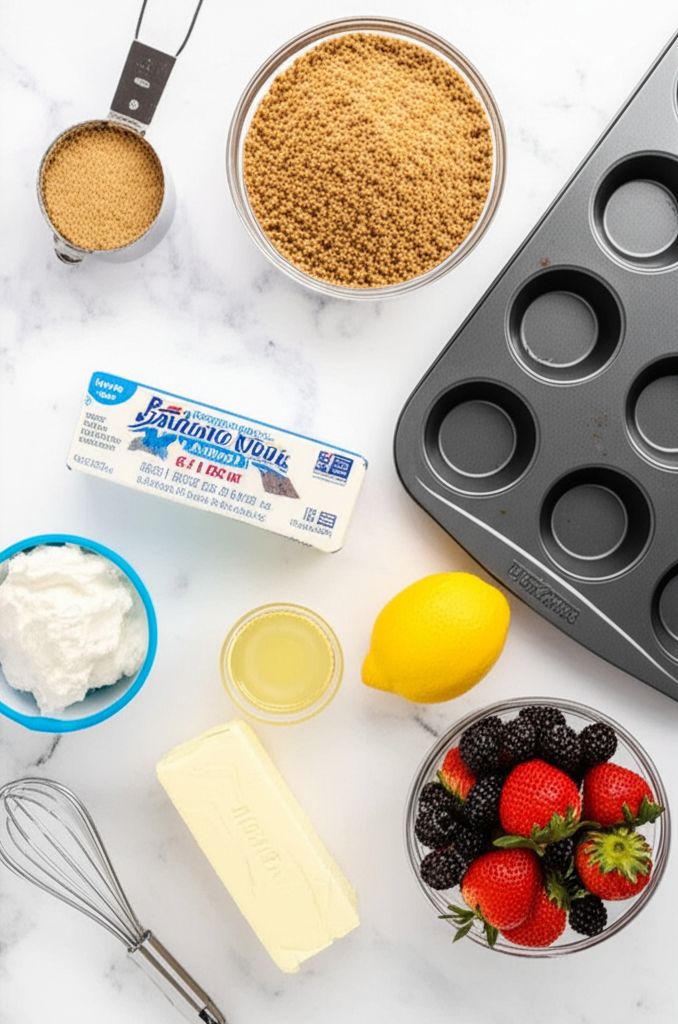
Recipe View Prepare your workspace: Gather all ingredients and line a 12-cup muffin pan with paper liners. (5 minutes)

02 Step
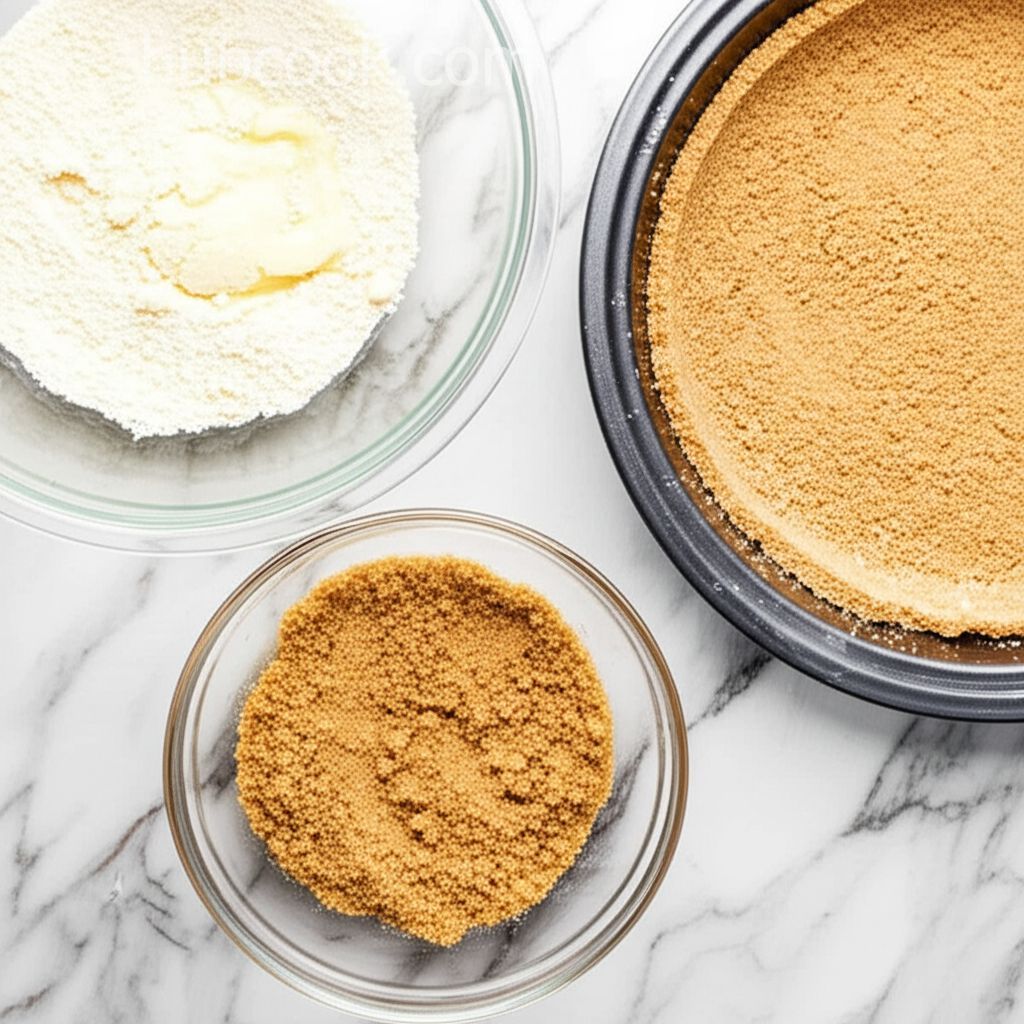
Recipe View Craft the Crust: In a small bowl, combine the graham cracker crumbs, brown sugar, and melted butter. Mix until evenly moistened, resembling wet sand. (5 minutes)

03 Step
Recipe View Form the Crusts: Press approximately 1 rounded tablespoon of the crumb mixture firmly into the bottom of each muffin liner. Ensure an even layer. Freeze the crusts to set while you prepare the filling. (15-20 minutes)

04 Step
Recipe View Whip the Cream: In a medium bowl, beat the cold heavy whipping cream using an electric mixer until stiff peaks form. Be careful not to overwhip. Set aside. (3-5 minutes)

05 Step
Recipe View Cream the Cheese: In a large bowl, beat the softened cream cheese and powdered sugar together on medium-high speed until smooth, light, and creamy. Ensure no lumps remain. (2 minutes)

06 Step
Recipe View Incorporate Flavors: Add the sour cream, lemon juice, and vanilla extract to the cream cheese mixture. Beat until just combined, being careful not to overmix. (1 minute)

07 Step
Recipe View Fold in the Whipped Cream: Gently fold the reserved whipped cream into the cream cheese mixture until just combined. Do not overmix, as this will deflate the cream. (2 minutes)

08 Step
Recipe View Pipe the Filling: Transfer the filling to a resealable 1-quart plastic bag. Snip off one corner of the bag to create a 1/2-inch opening. (2 minutes)

09 Step
Recipe View Fill the Crusts: Pipe the filling evenly into the prepared muffin liners, using about 2 1/2 tablespoons of mixture per cup. Smooth the tops with a small offset spatula or the back of a spoon. (10 minutes)

10 Step
Recipe View Chill: Refrigerate the mini cheesecakes, covered, for a minimum of 3 hours, or up to 5 days. This allows the filling to set completely. (3 hours)

11 Step
Recipe View Garnish and Serve: Just before serving, top the mini cheesecakes with fresh sliced strawberries or raspberries, or your desired toppings. (5 minutes)

12 Step
Recipe View Unwrap and savor the delightful taste of your homemade mini cheesecakes!
You need to login to claim your token
🔐 Login to get tokenYOU MAY ALSO LIKE
RECIPE REVIEWS
LEAVE A REVIEW
Please Rate
LATEST RECIPES
-
 1
1 -
 2
2 -
 3
3 -
 4
4 -
 5
5
Travis Reynolds
Jun 14, 2025I didn't have muffin liners, so I just sprayed the muffin tin with non-stick spray and they came out perfectly.
Lessie Ernser
Jun 8, 2025These were so easy to make and everyone loved them! I topped mine with blueberry pie filling.
Veronica Mueller
May 20, 2025The lemon juice really brightens up the flavor. I used a mix of raspberries and blackberries for the topping.
Margaret Thompson
May 18, 2025These are a great alternative to a full-sized cheesecake. So convenient and delicious!
Pauline Kreiger
May 18, 2025Next time, I'm going to try making a chocolate ganache to drizzle on top. Thanks for the great recipe!